Why Do We Harvest Cocoons?
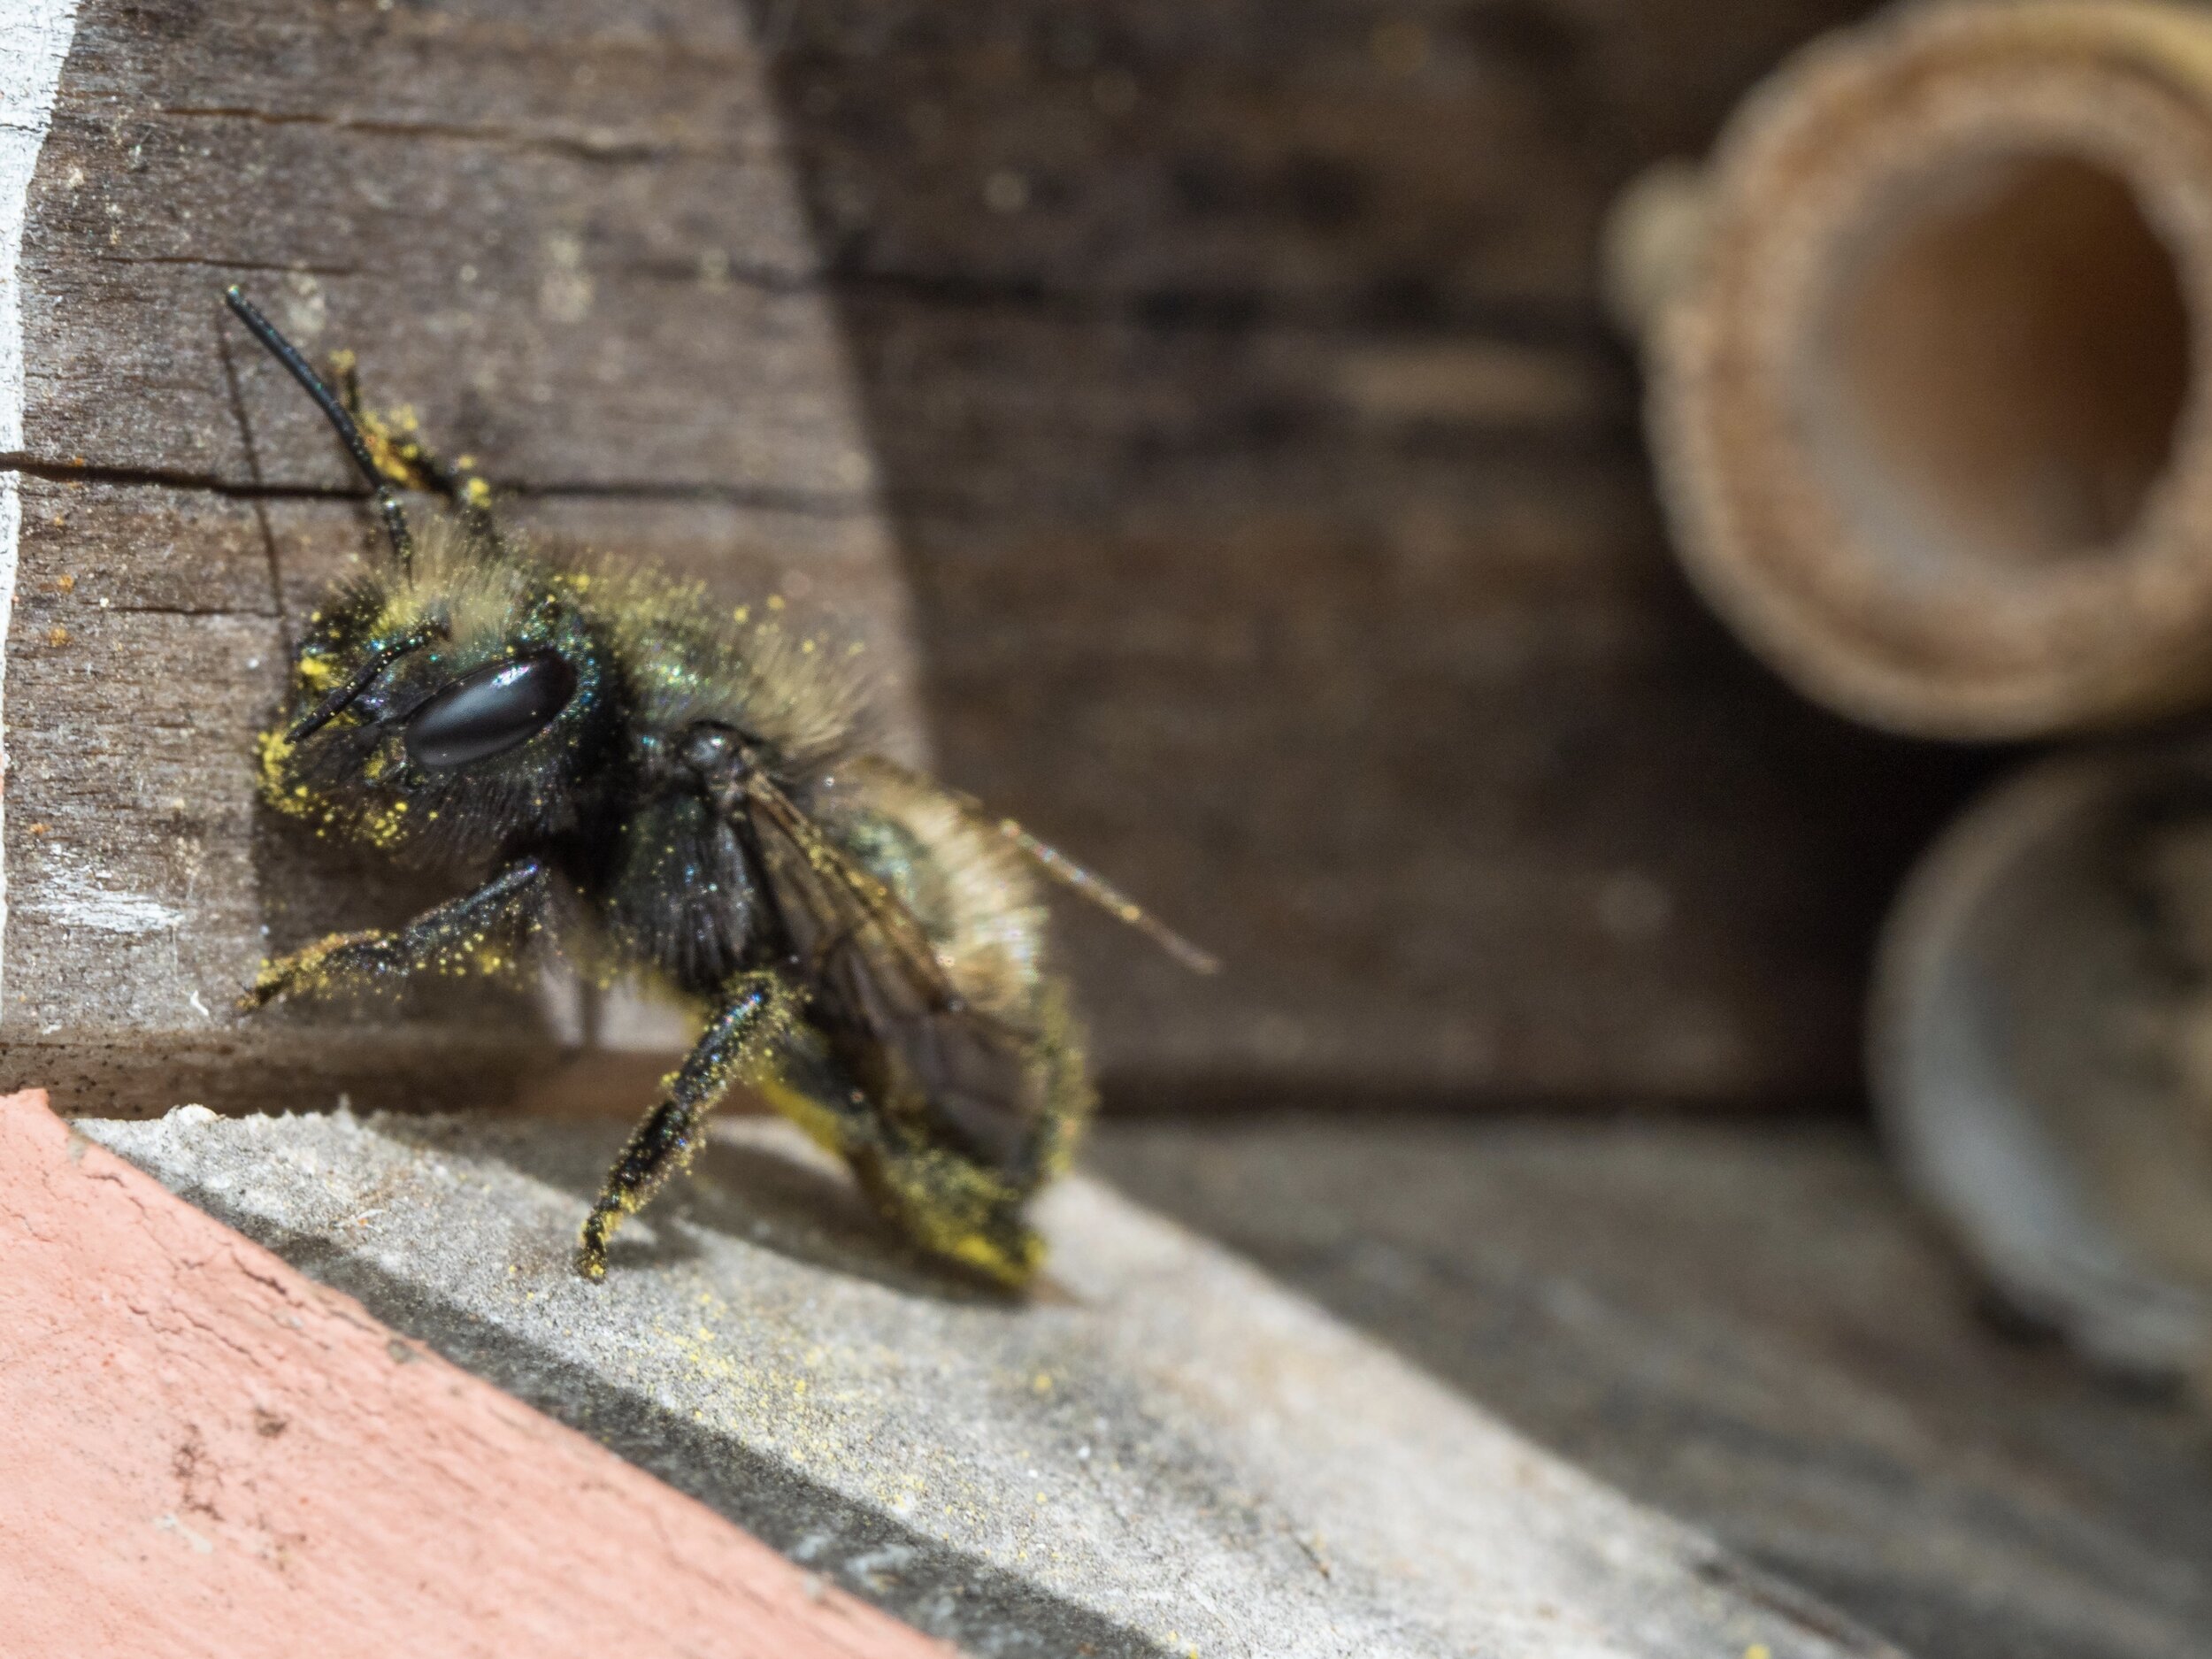
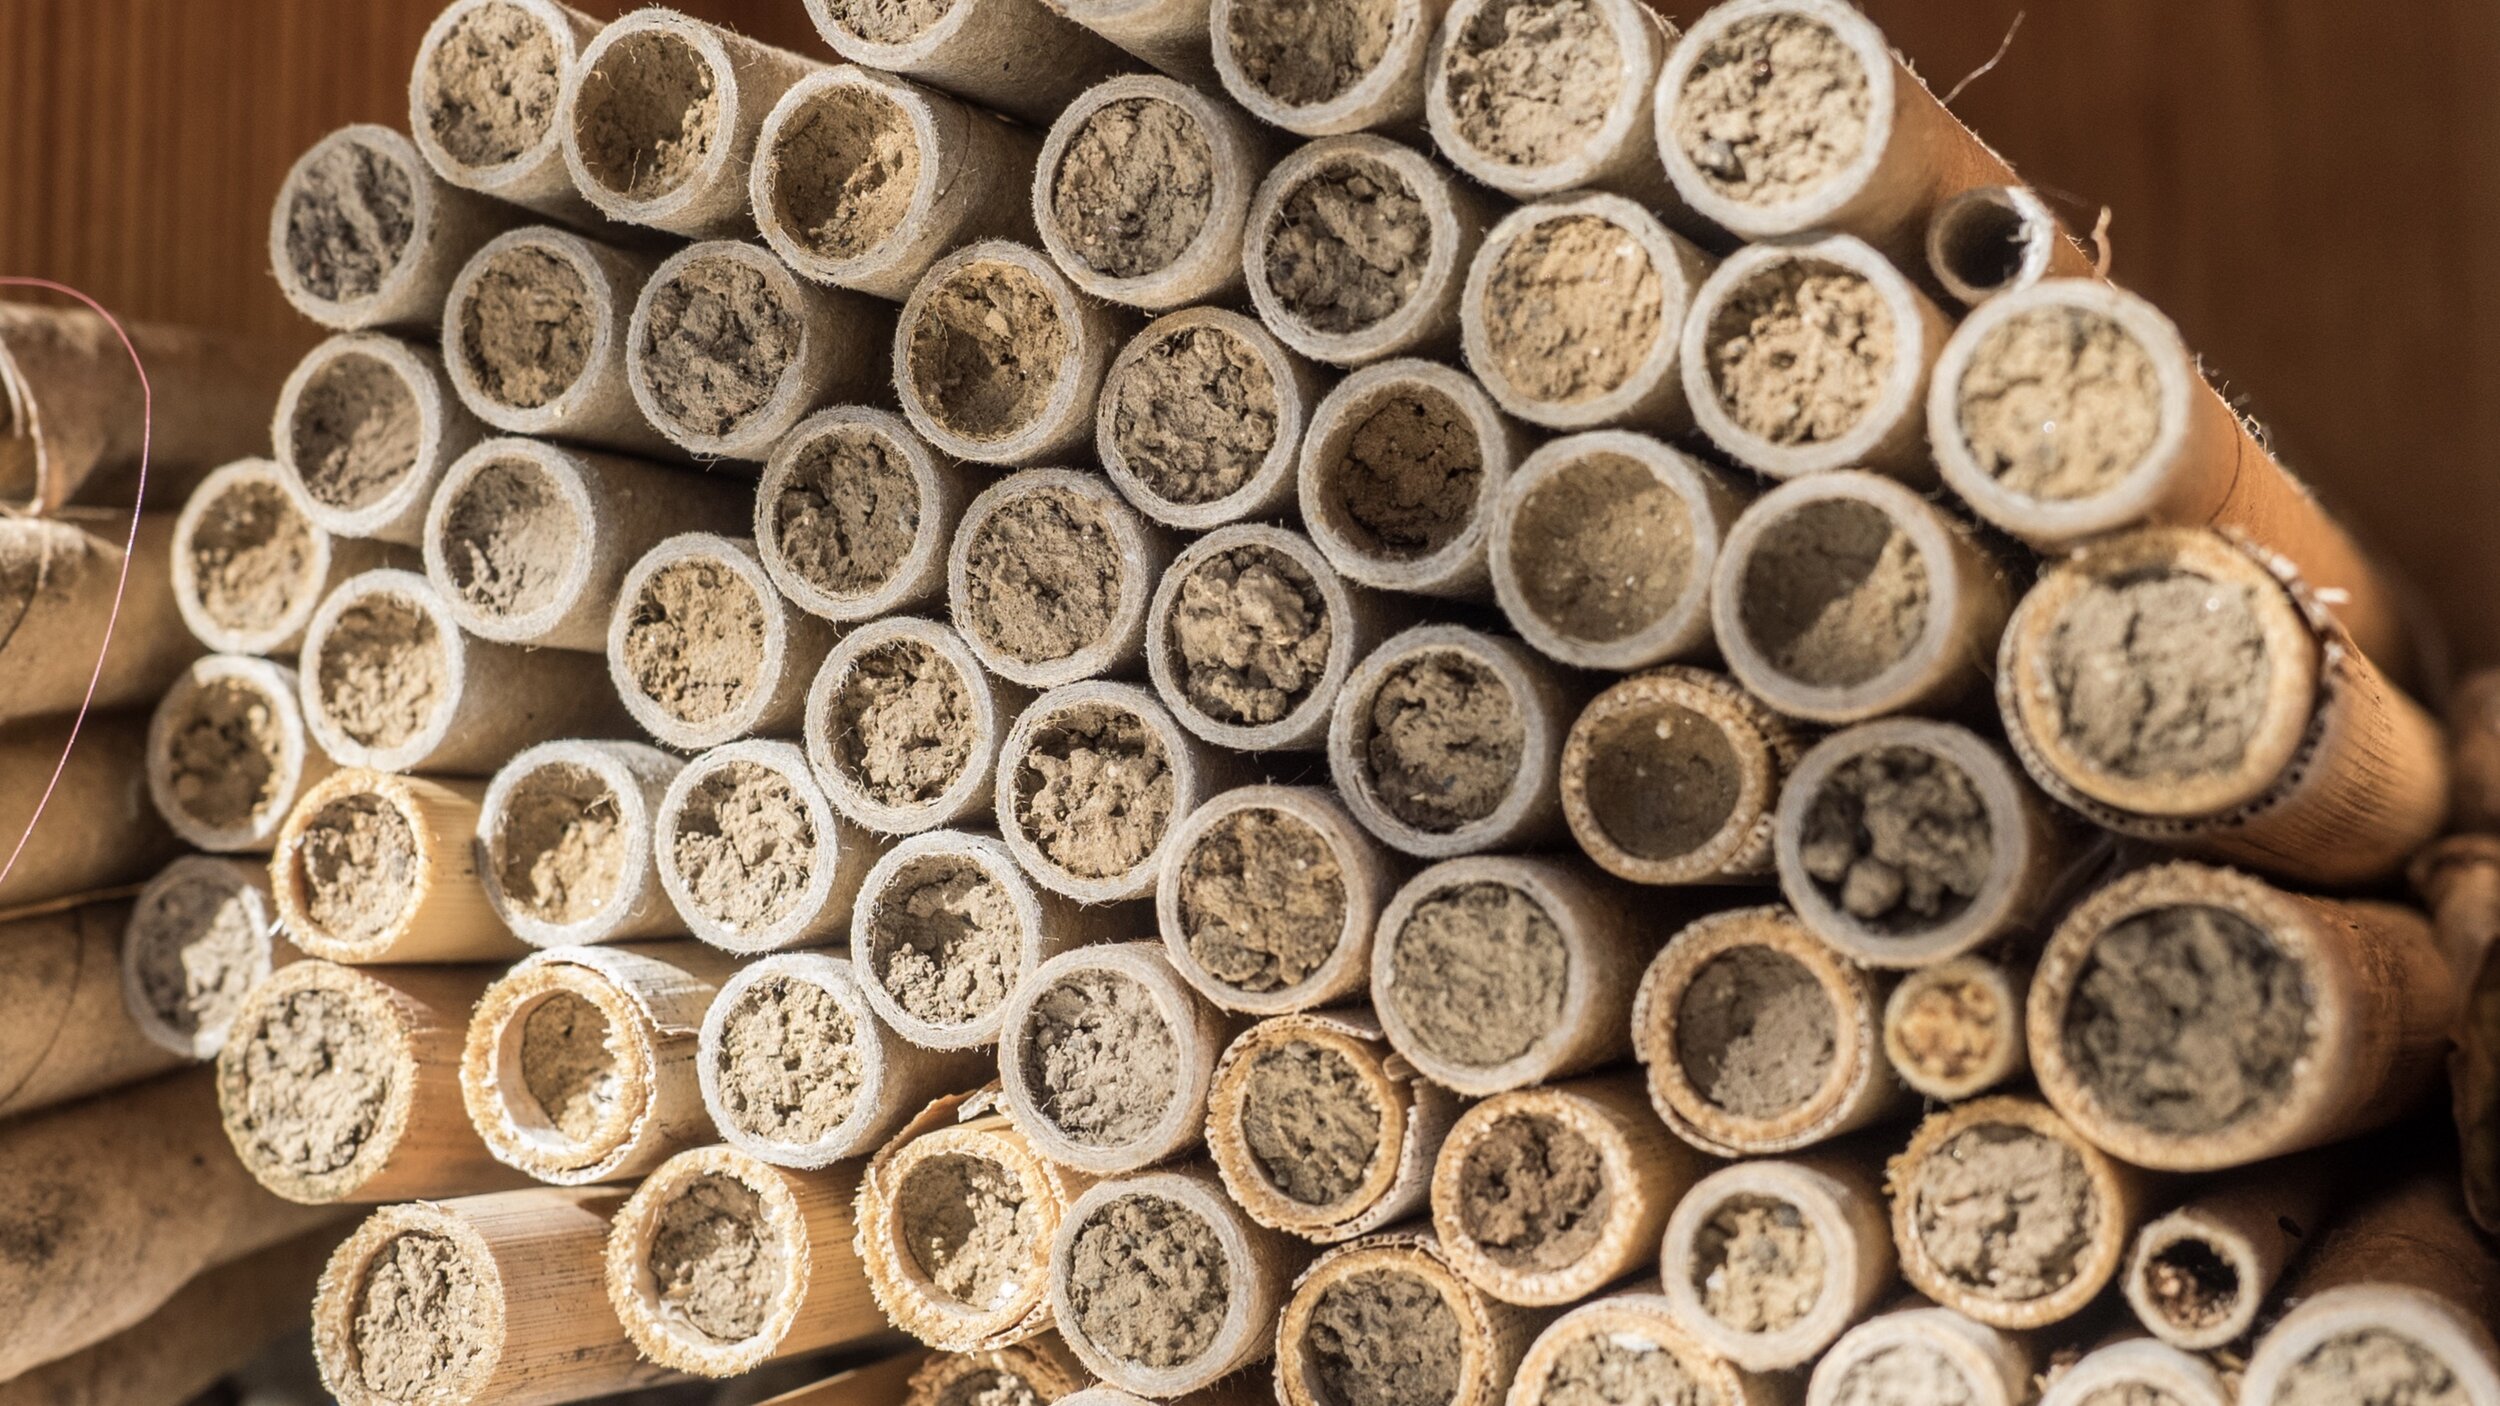
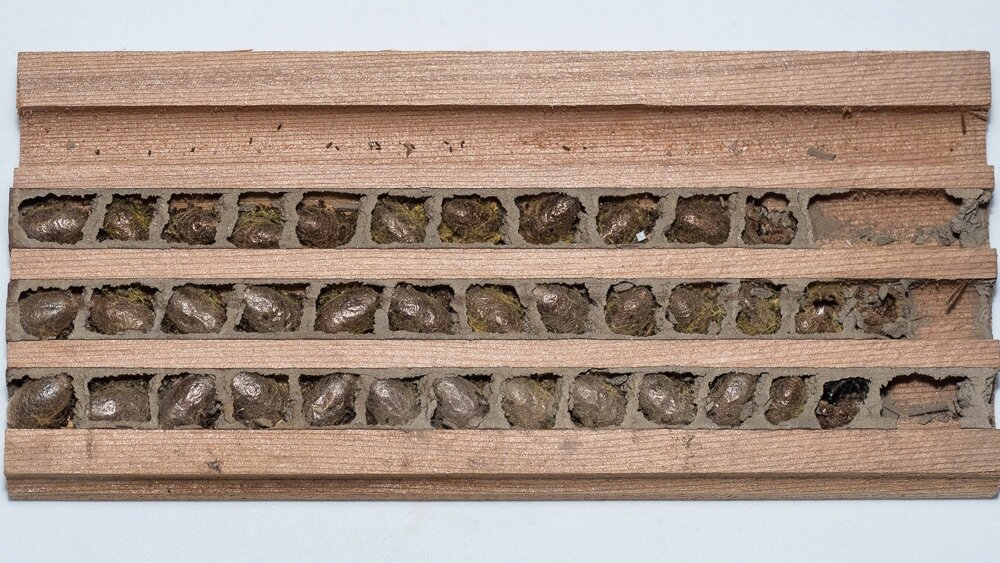
Providing habitat for solitary tunnel-nesting bees is fun and easy- a great way to ‘keep bees’ without all the intensive management. It is important to remember, however, that any time we create artificial habitats for wildlife, we are assuming some responsibility for the wildlife that occupy those spaces. In the case of mason bees, we are providing an abundance of tubes or holes for them to nest in, which is more densely aggregated than in nature. This helps the bee populations proliferate, but it can also cause an abundance of their common pests and diseases.
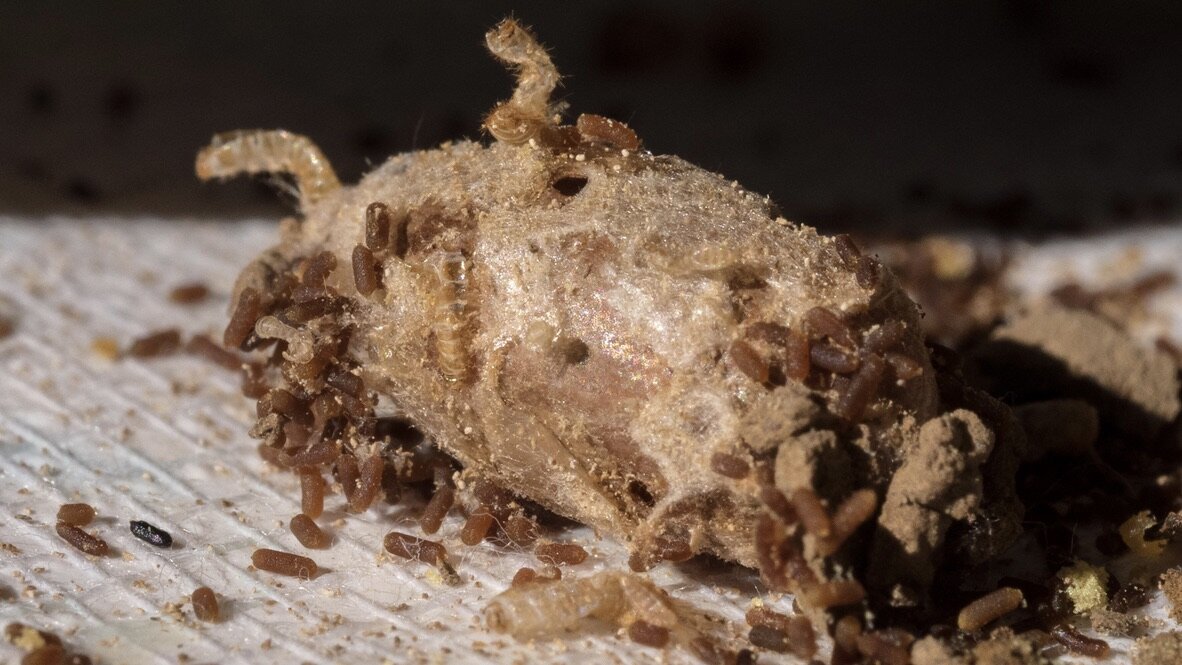
If left unchecked, Houdini flies, parasitic wasps, pollen mites, and chalkbrood could decimate your habitat’s bee population in a matter of a couple of seasons. That’s why we harvest, sort, clean, and store our mason bee cocoons at the end of the season. Here in the PNW, this should occur in October, after the developing bees are fully-formed adults ready to hibernate inside their cocoons.
Harvesting mason bee cocoons is super simple, and this article will guide you through the process step-by-step!
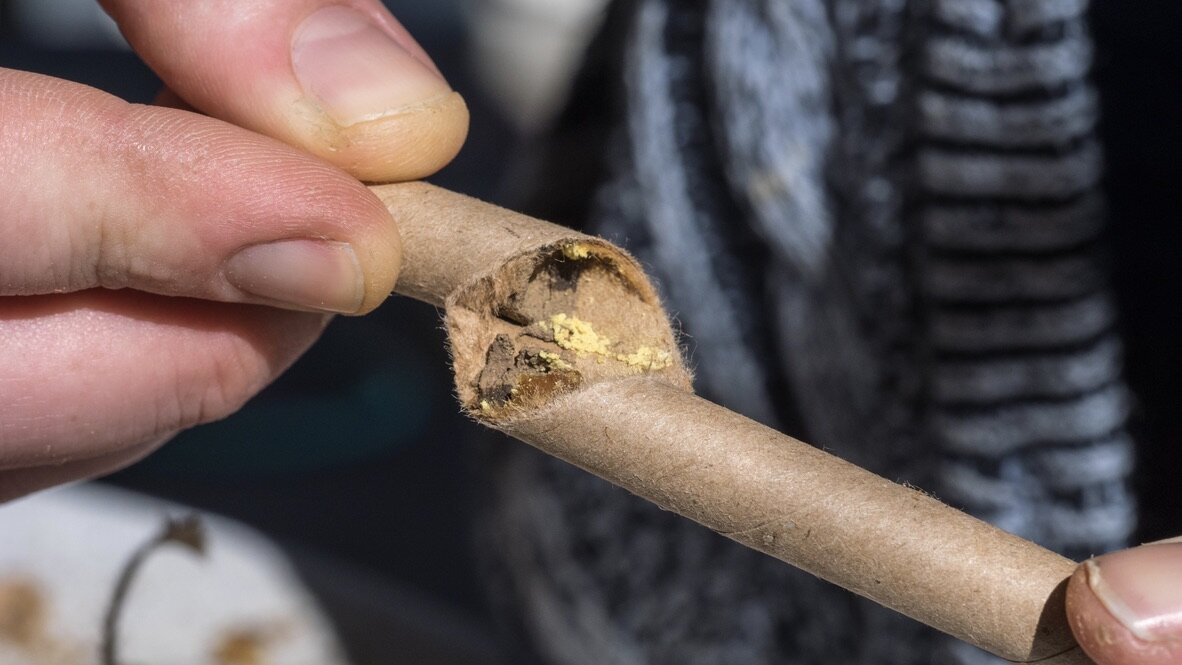
A Pre Harvest Season Note: Once the adult females have finished out their season, they will seal up their nesting hole with a thick mud cap. This is to prevent predation, but some pests are able to get through these defenses. Once you see that cap, we recommend moving the tubes or nesting trays into a mesh bag and into a protected area at ambient temperatures. This will prevent build up of parasitic wasps and Houdini flies. In the PNW this usually happens at the end of May or early June.
Step-by-Step Guide to Cocoon Harvesting
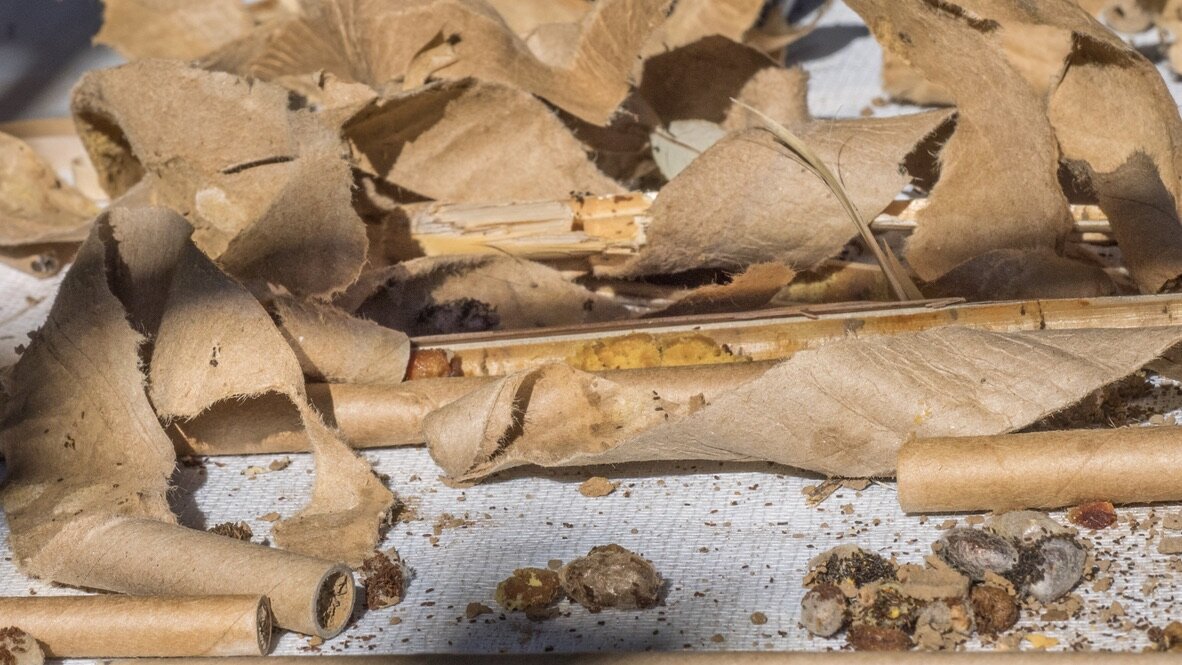
Let’s get started! You’ll want to set-up your harvest station in a cool location. If the room is too warm, this will trigger your mason bees to emerge prematurely. We set a table up in the garage, or outdoors if it is sunny and cool out. Your station should include:
Space to open your tubes and trays that you don’t mind getting debris on (towels, trays, or crafting paper can make clean up easier)
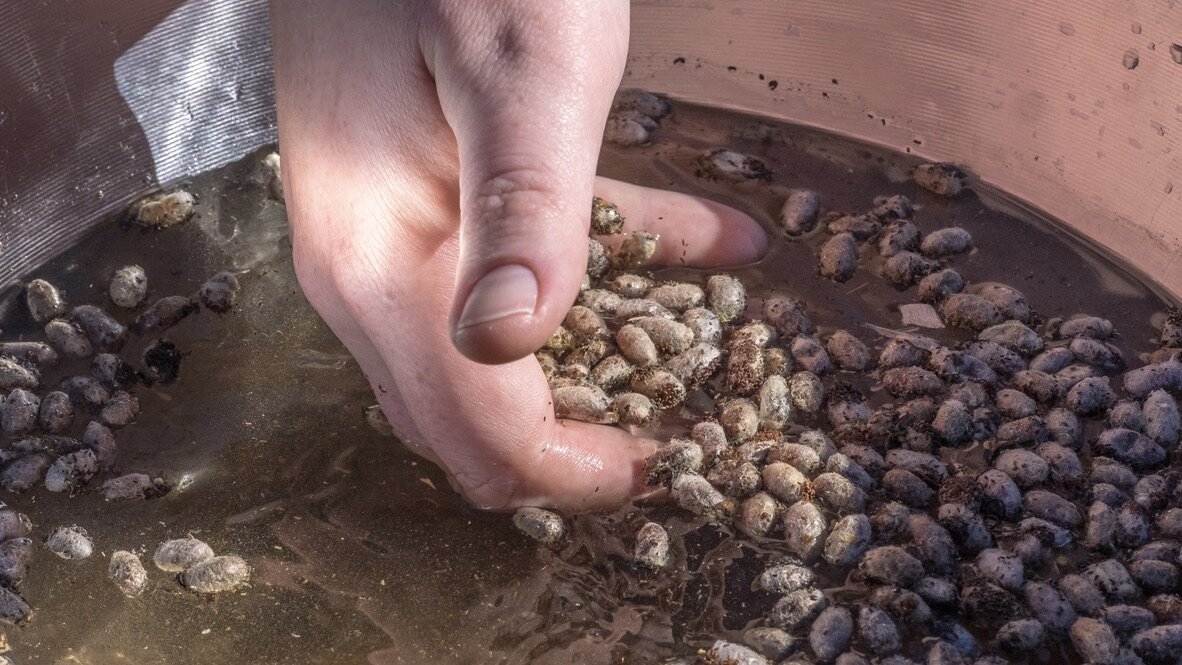
A bucket or big bowl of cool water with 1 Tbsp of bleach for each gallon of water
A strainer with a handle or a slotted spoon for scooping out cleaned cocoons
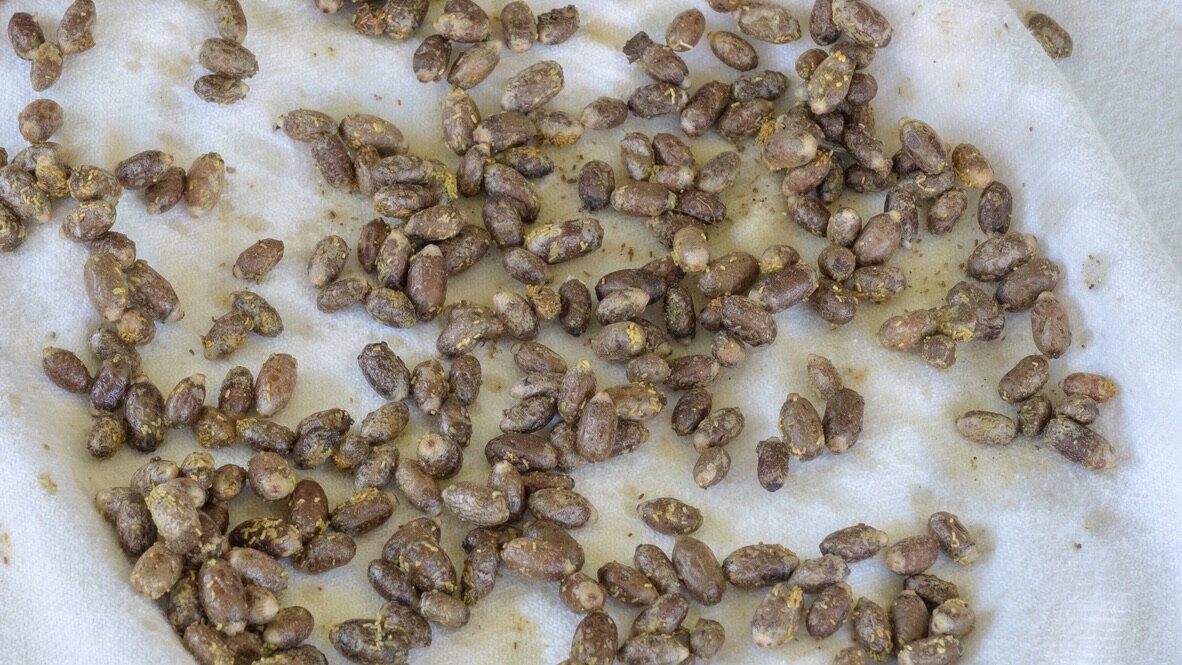
A cloth towel or layer of paper towels on the table to dry your cocoons
A long, flat storage container like tupperware with a paper towel in the bottom and holes in the lid
Space in the refrigerator
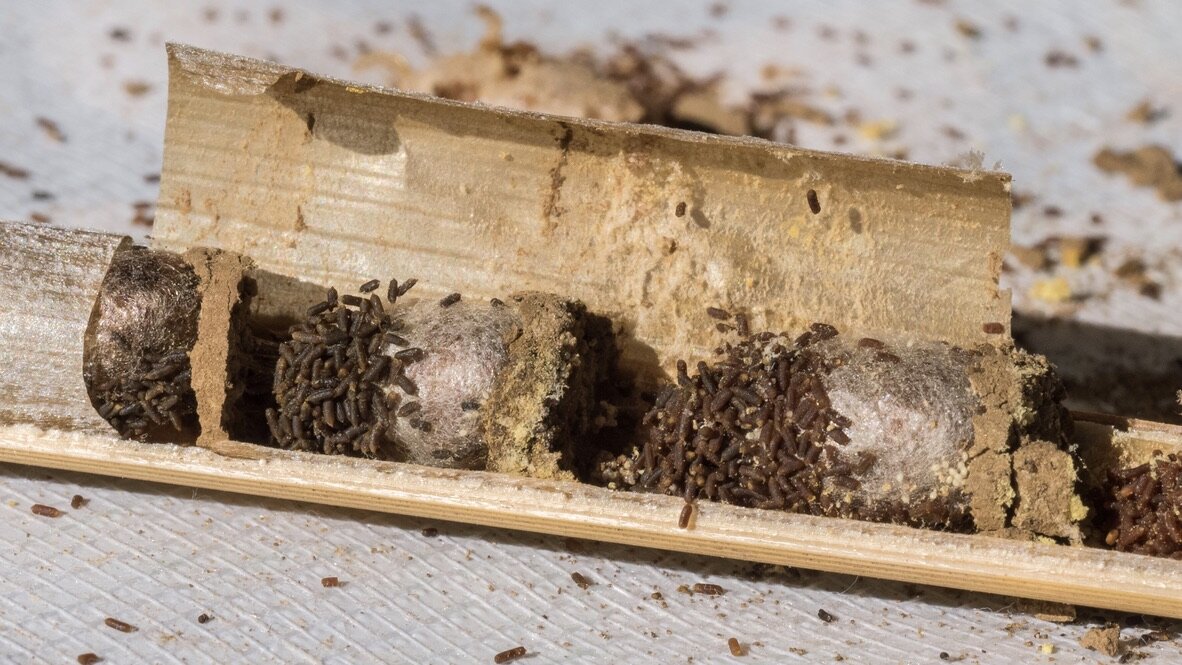
Here are some common pests and problems you’ll encounter…


Pro-tip: Uninstall your bee houses for the winter and keep them out of the weather to extend its lifespan. You can re-hang them when it’s time to release the bees in the spring.
And that’s it! Store the cocoons inside their container in the refrigerator for the winter. About once a month, add a few drops of water to the edges of the paper towels, or a lightly moistened cotton ball, to add humidity to the container.
Once fruit trees are in bloom and temperatures are above 55 every day, the cocoons can be released in their habitat to begin the cycle over. Happy harvesting, fellow bee-lovers!
If you’re interested in getting started with mason bees, check out our online class!