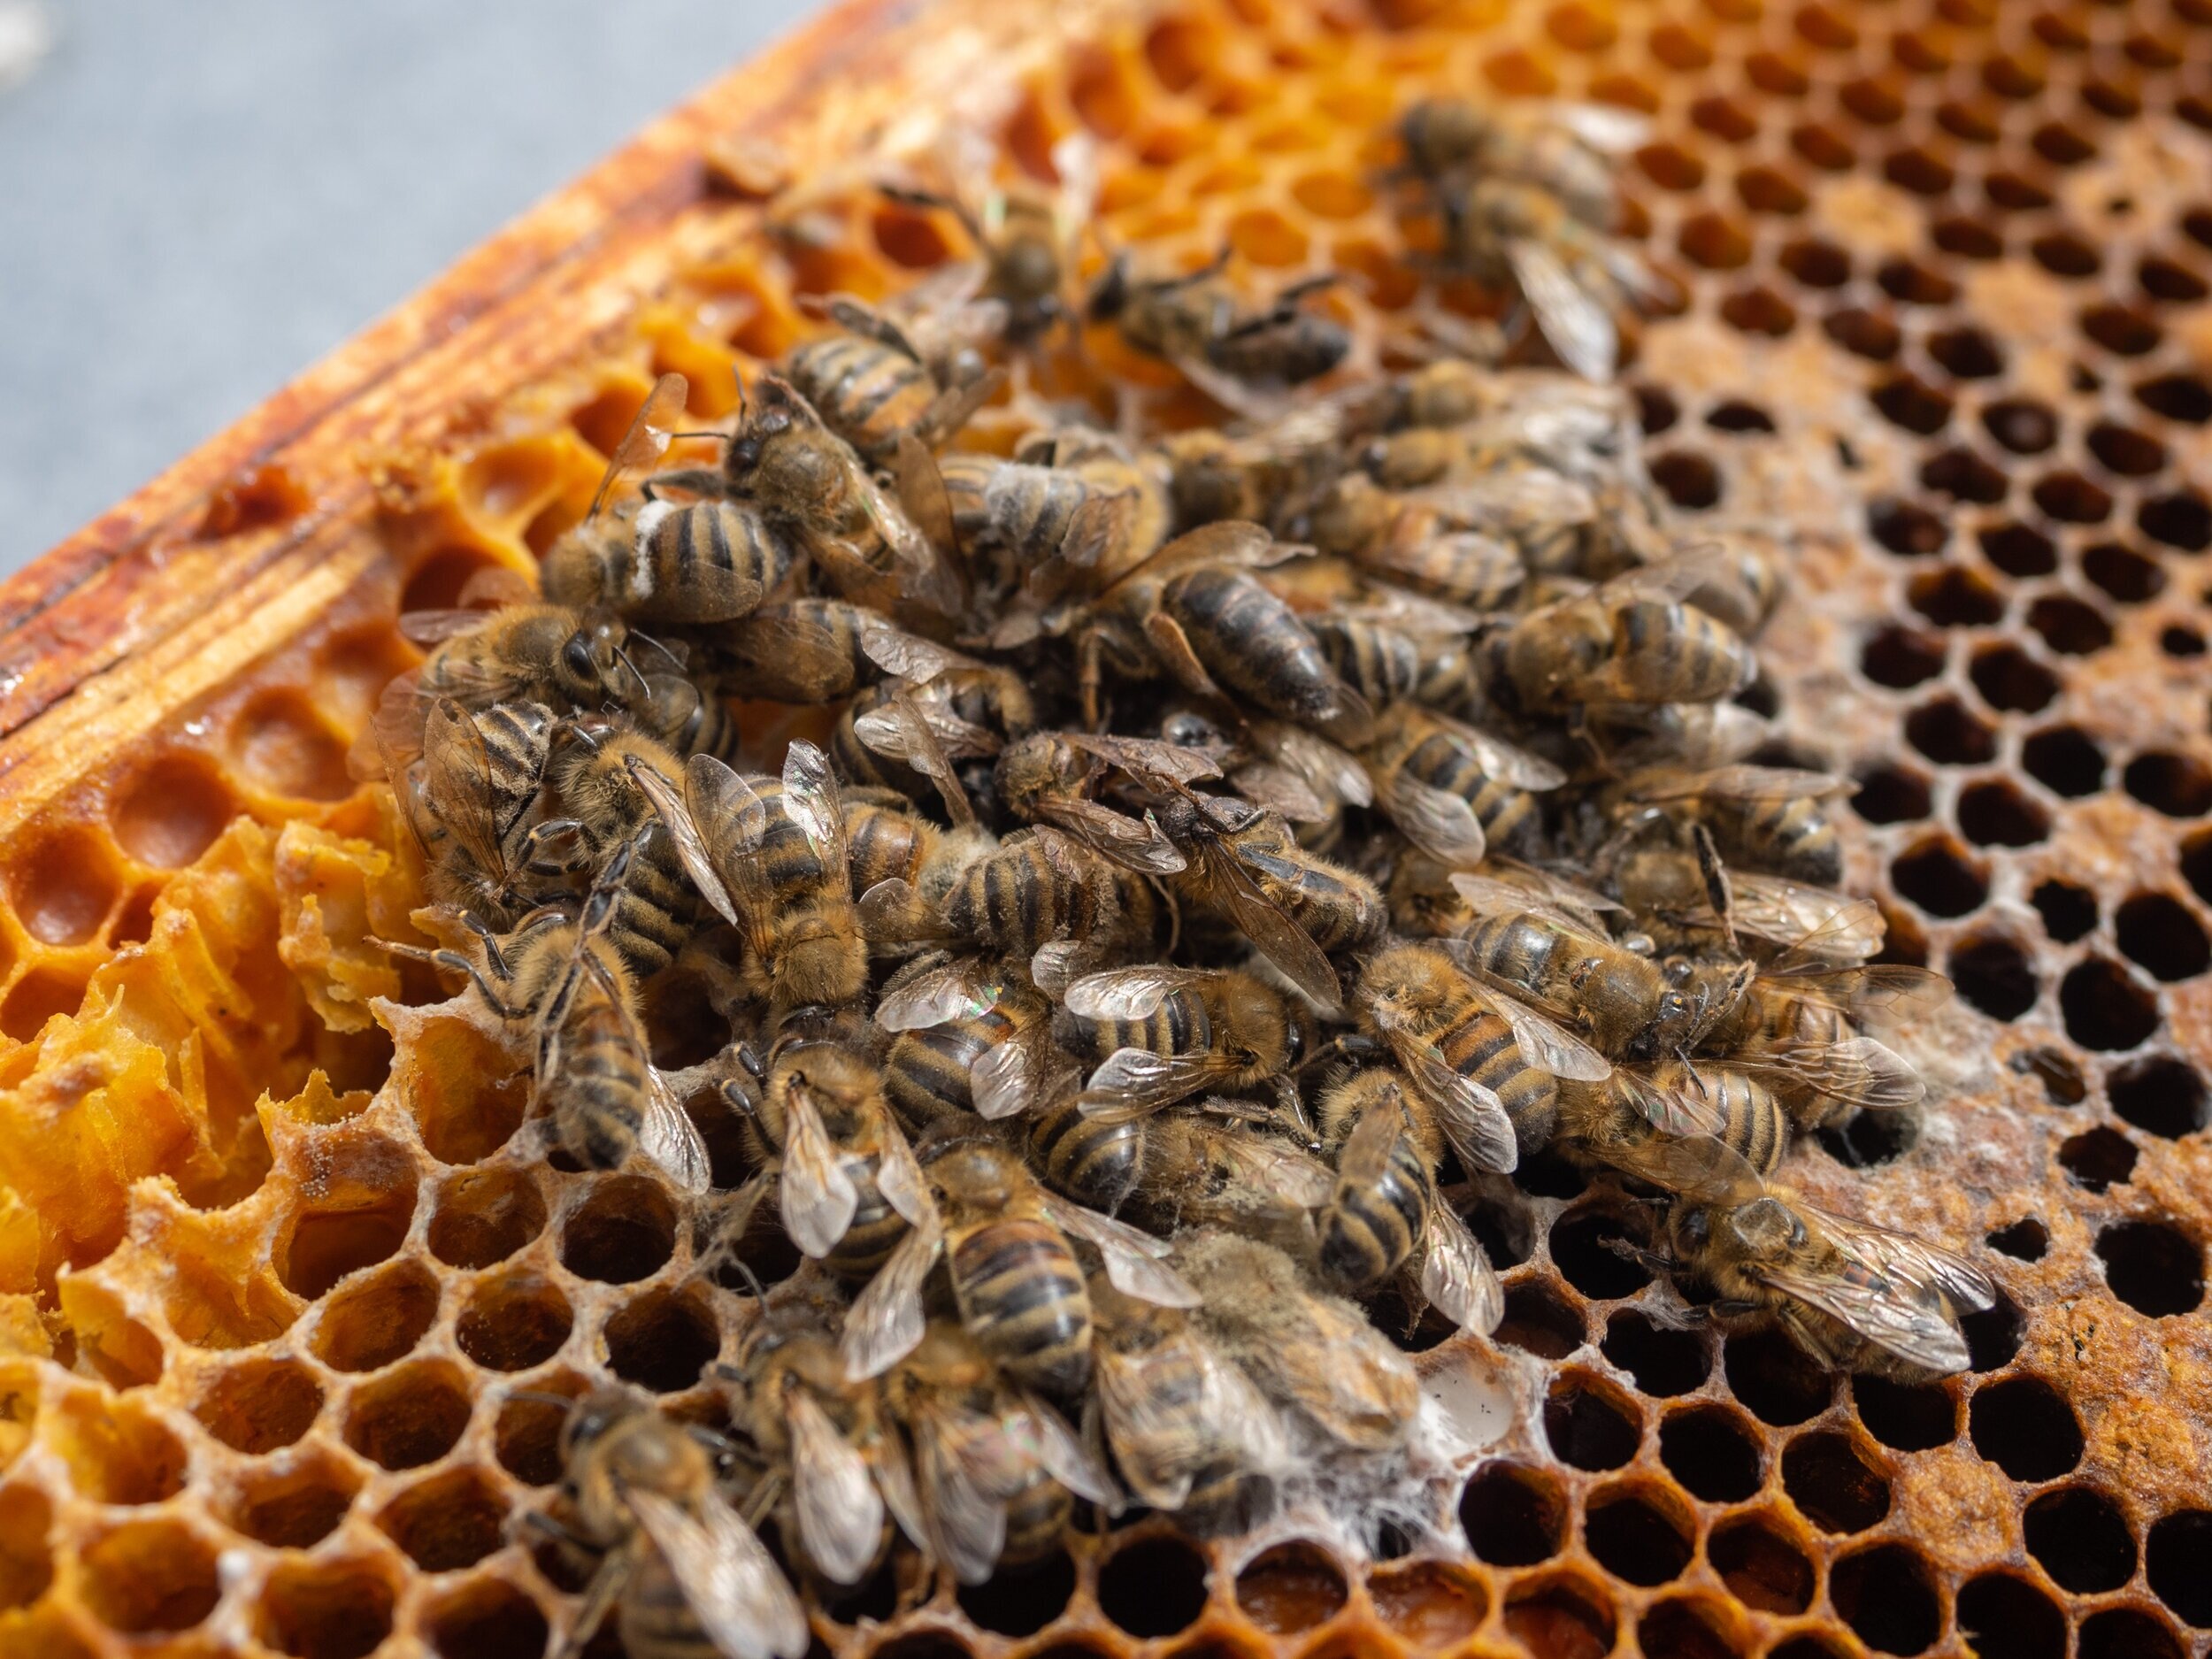
In this day and age, it is not uncommon for new beekeepers to lose hives their first, second, third (or even more) years before finding success in keeping colonies alive. If this describes you, and you’re getting ready to try again with a new package or nuc, you may be wondering how to clean a “deadout” and prepare your hive for a new install. The good news is, barring American Foulbrood as the cause of death, you can reuse all of your equipment, and even the comb your old colony left behind. This takes a little preparation on your part, but we’ve broken it down into a handful of easy steps.
Post-Mortem Inspection
Deadout forensics can be imprecise, but there are some hallmarks of the common killers to look for that can help determine the cause of death, and inform your future beekeeping practices.
Moisture: Is there a build-up of water on the inside of your equipment, or water dripping out of old combs? If so, you may need to identify and repair a leak(s) and adjust hive ventilation by adding top entrances, Vivaldi boards, or screened bottom boards.
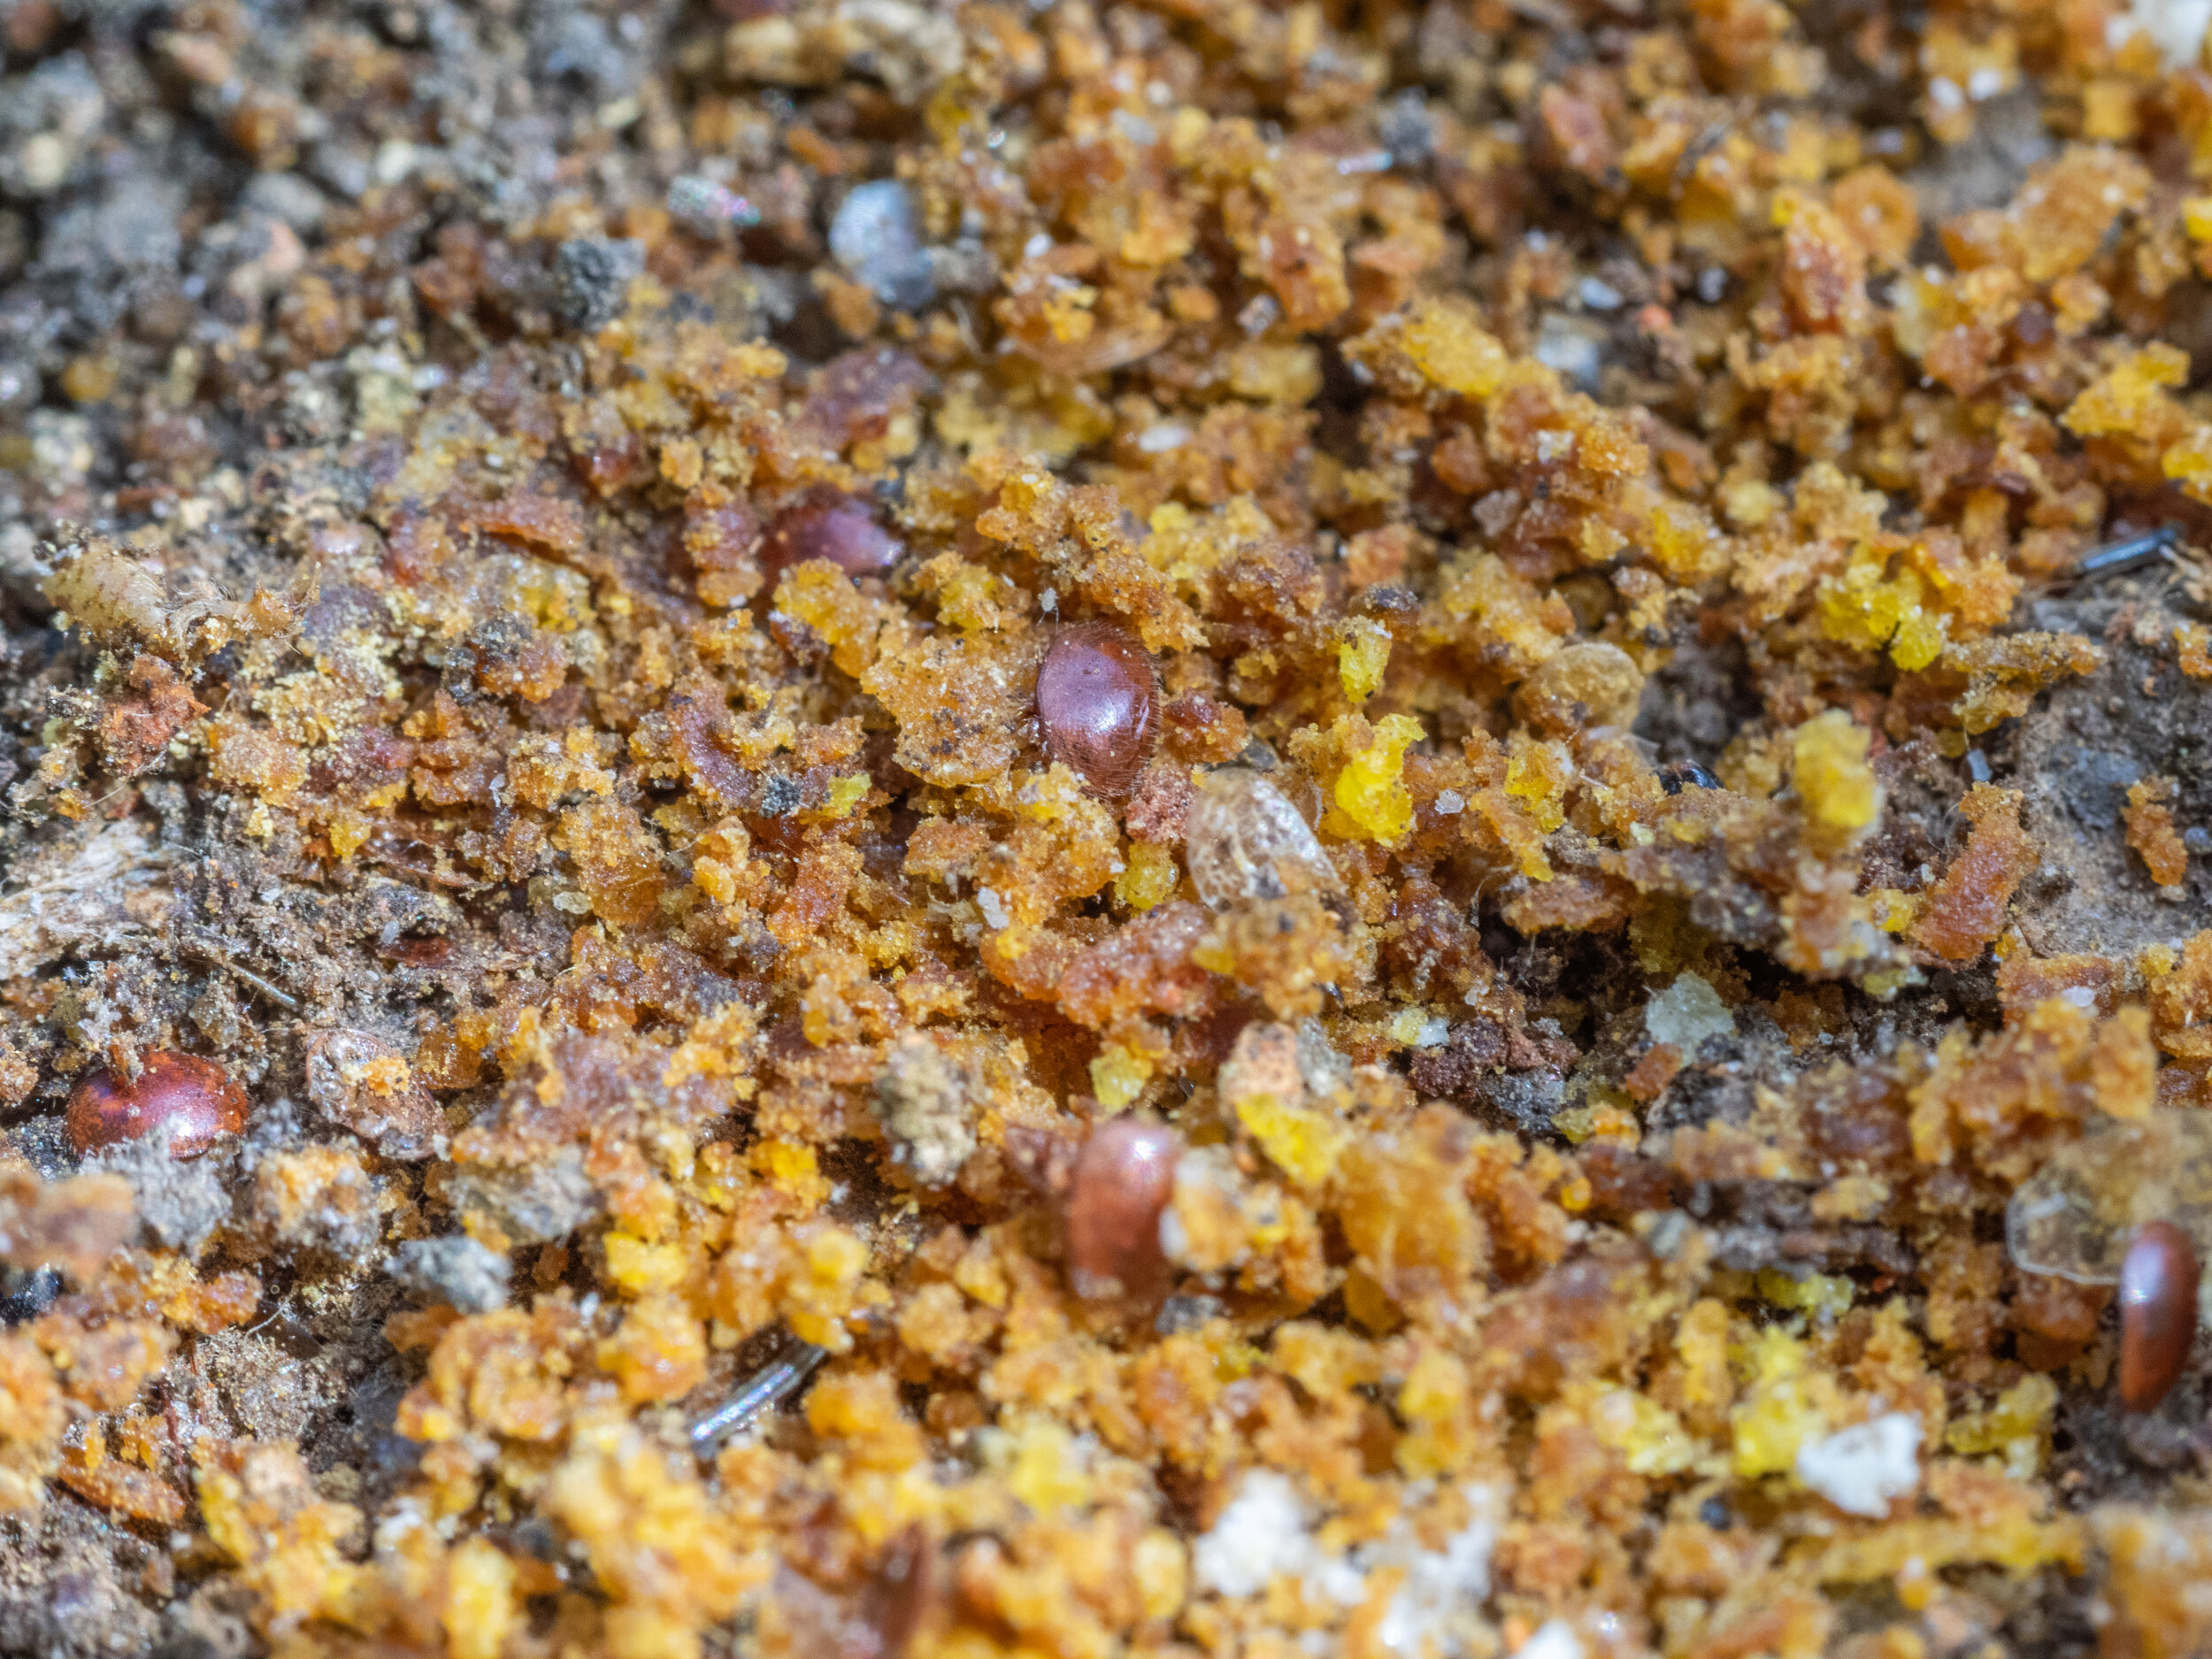
Mite collapse: Parasitic Mite Syndrome is a very common killer, especially in hives that were not monitored and treated during the active season (Mite Monitoring and IPM). If mite collapse was the cause of death over the winter, you’ll see little white specks of mite frass covering comb surfaces. There may also be a lot of dead mites littering bottom boards.
Blocked entrances: If your hive had only a bottom entrance and it is blocked by dead bees or other barriers, they got trapped and could not exit to do cleansing flights. In the future, make sure to clear entrances of dead bees regularly during the winter, or add top entrances to your hives.
Starvation: If your bees did not store enough honey before going into winter, this would look like an absence of honey left behind in the hive. If this is the case, you’ll need to adjust your fall feeding practices or add candy boards before winter (winterizing). Even if they did store enough honey, starvation can happen if the bees can’t access their honey. This can happen if honey is split between multiple locations and is not consolidated in one place above or adjacent for the cluster to slowly move through.
Clear Out Dead Bees
Discard any dead bees from the bottom board or remaining cluster on the combs. We aren’t too discriminating about how we dispose of them; they often just get dumped onto the ground to decompose. They can be added to a compost pile or simply bagged and dumped.
Scrape Propolis and Wax Build-up
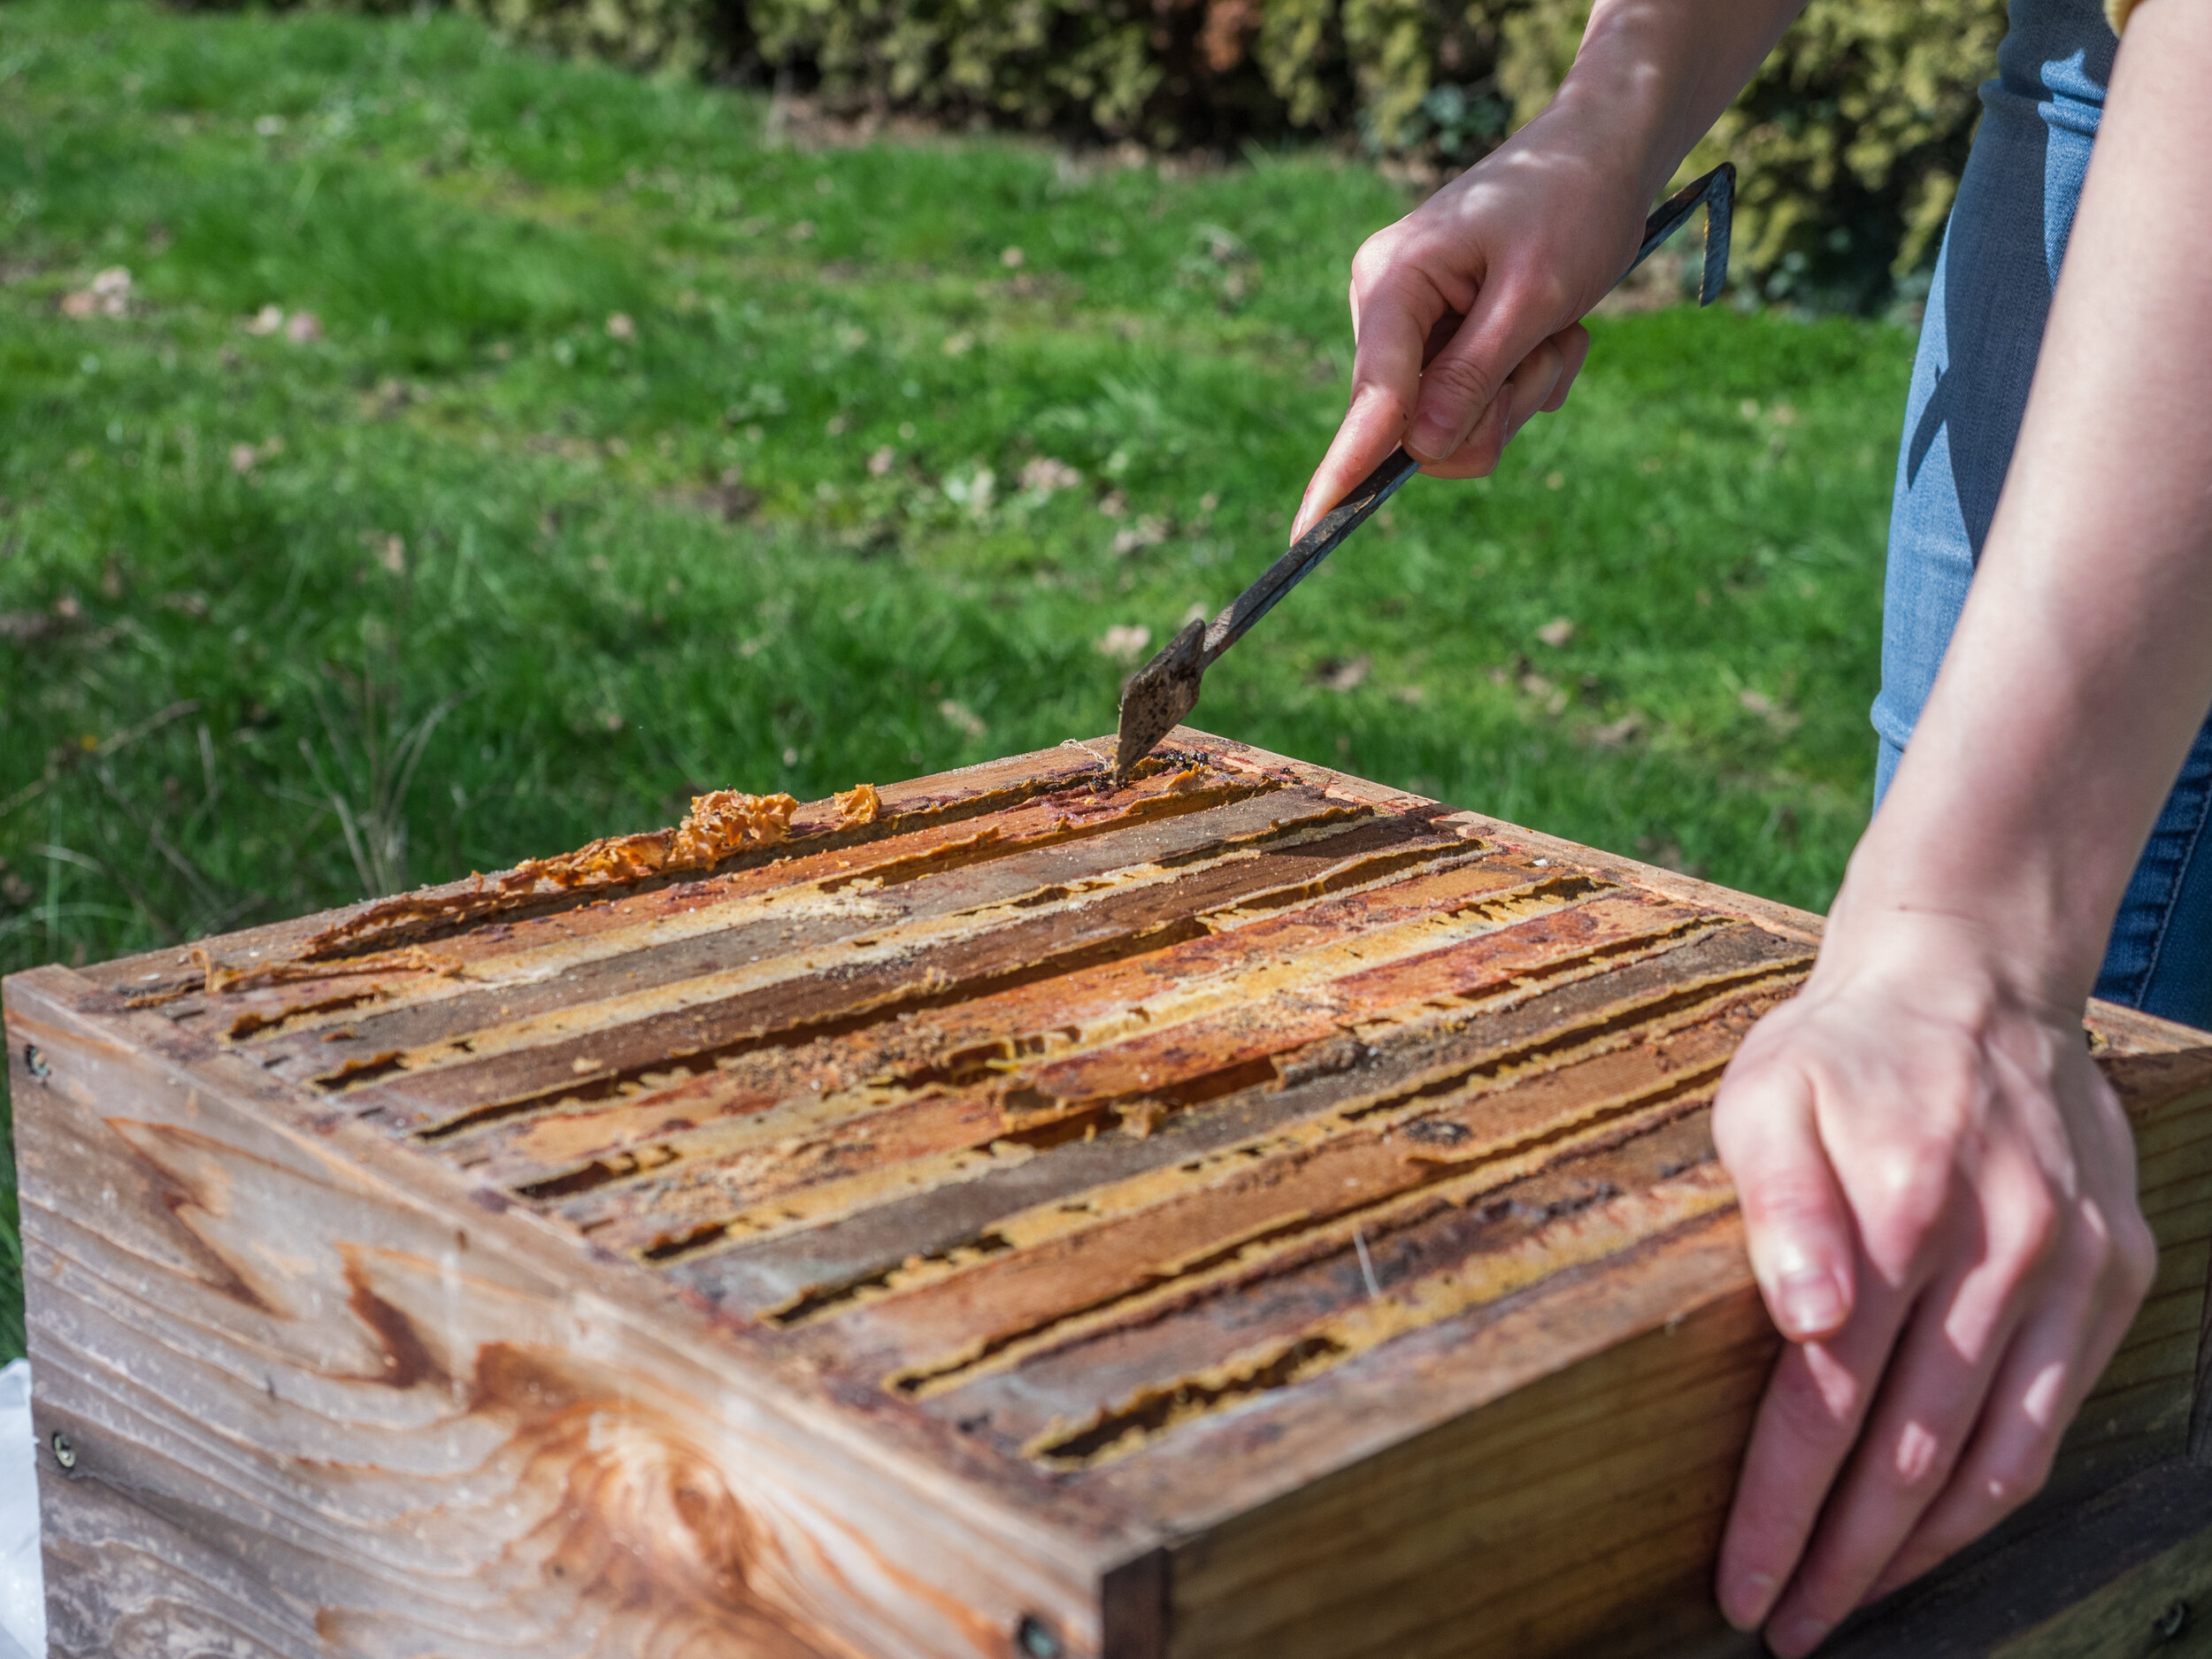
Propolis build-up is healthy, allowing bees to seal off cold air leaks and providing antimicrobial and antibacterial benefits. It’s also a sticky mess and can make it difficult for you to remove frames and access your hive for inspections. Take this opportunity to scrape frames and box edges with your hive tool while the propolis is cool and brittle.
Prepare Combs
Providing a new install with existing combs will give them a huge advantage at the start of the season, so save as much as you can from your deadout! Some guidelines for saving comb:
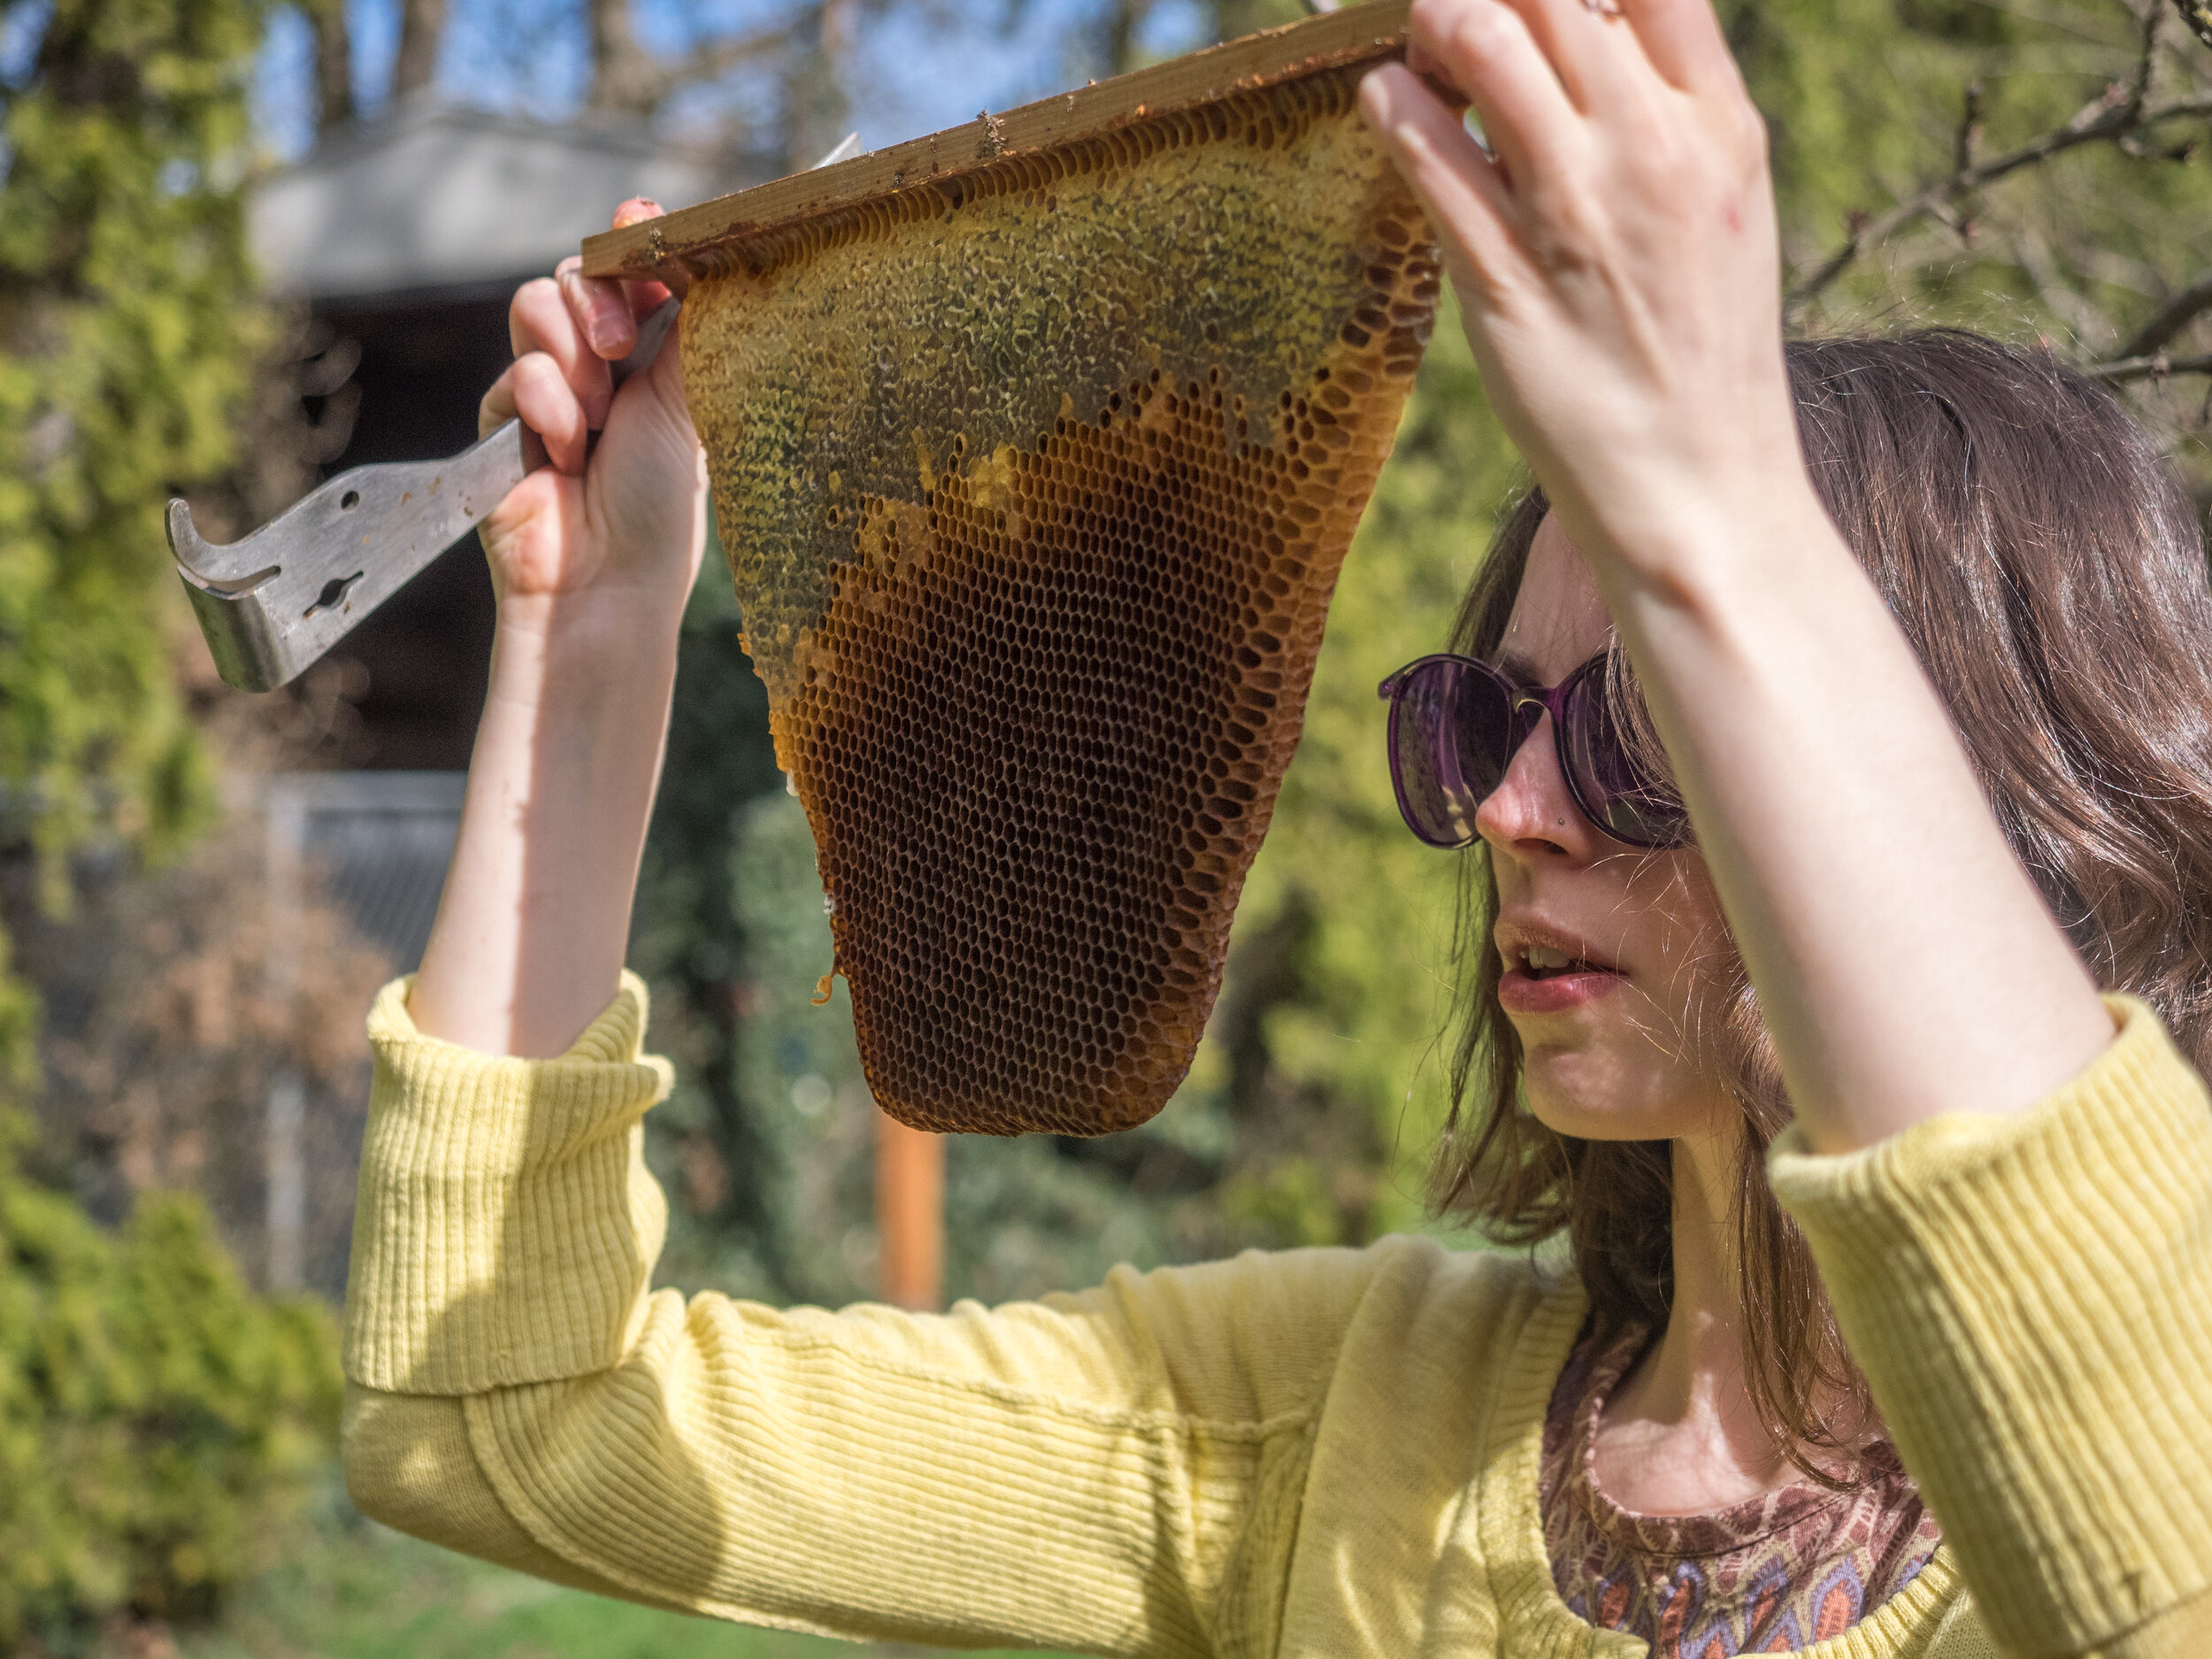
Remove the old stuff: Scrape out especially dark combs in which the cells are so full of cocoon debris that they appear circular instead of hexagonal. Combs should be rotated out/removed after about 3 seasons of use. (Use it as bait in your swarm traps!).
Wax moths: There will be wax moth eggs, larvae, and pupae in your hive. If left to their own devices, they will emerge and eat up all that good comb before your new bees get a chance to use it. Freeze and savable combs for at least 24 hours, and then store in an air-tight container that adult moths cannot access. We use locking lid Ziploc containers.
Mold: You may notice some mold on your combs, and this is mostly okay. The new bees will clean it up themselves. If you had a bad moisture problem, however, and mold is really covering surfaces, the comb may need to be discarded, and woodenware wiped out with a dilute bleach solution.
Leftover honey: Any capped, uneaten honey may be harvested for you, or saved for your bees. If saving, be sure to freeze it for 24 hours to kill wax moths and store in an airtight container. Rather than putting honeycombs straight into hives with new installs, we like to save it to give them in the fall when honey is a precious commodity. In the spring, giving the bees 1:1 sugar syrup is better than allowing them to eat through honey they could use in the fall and winter.
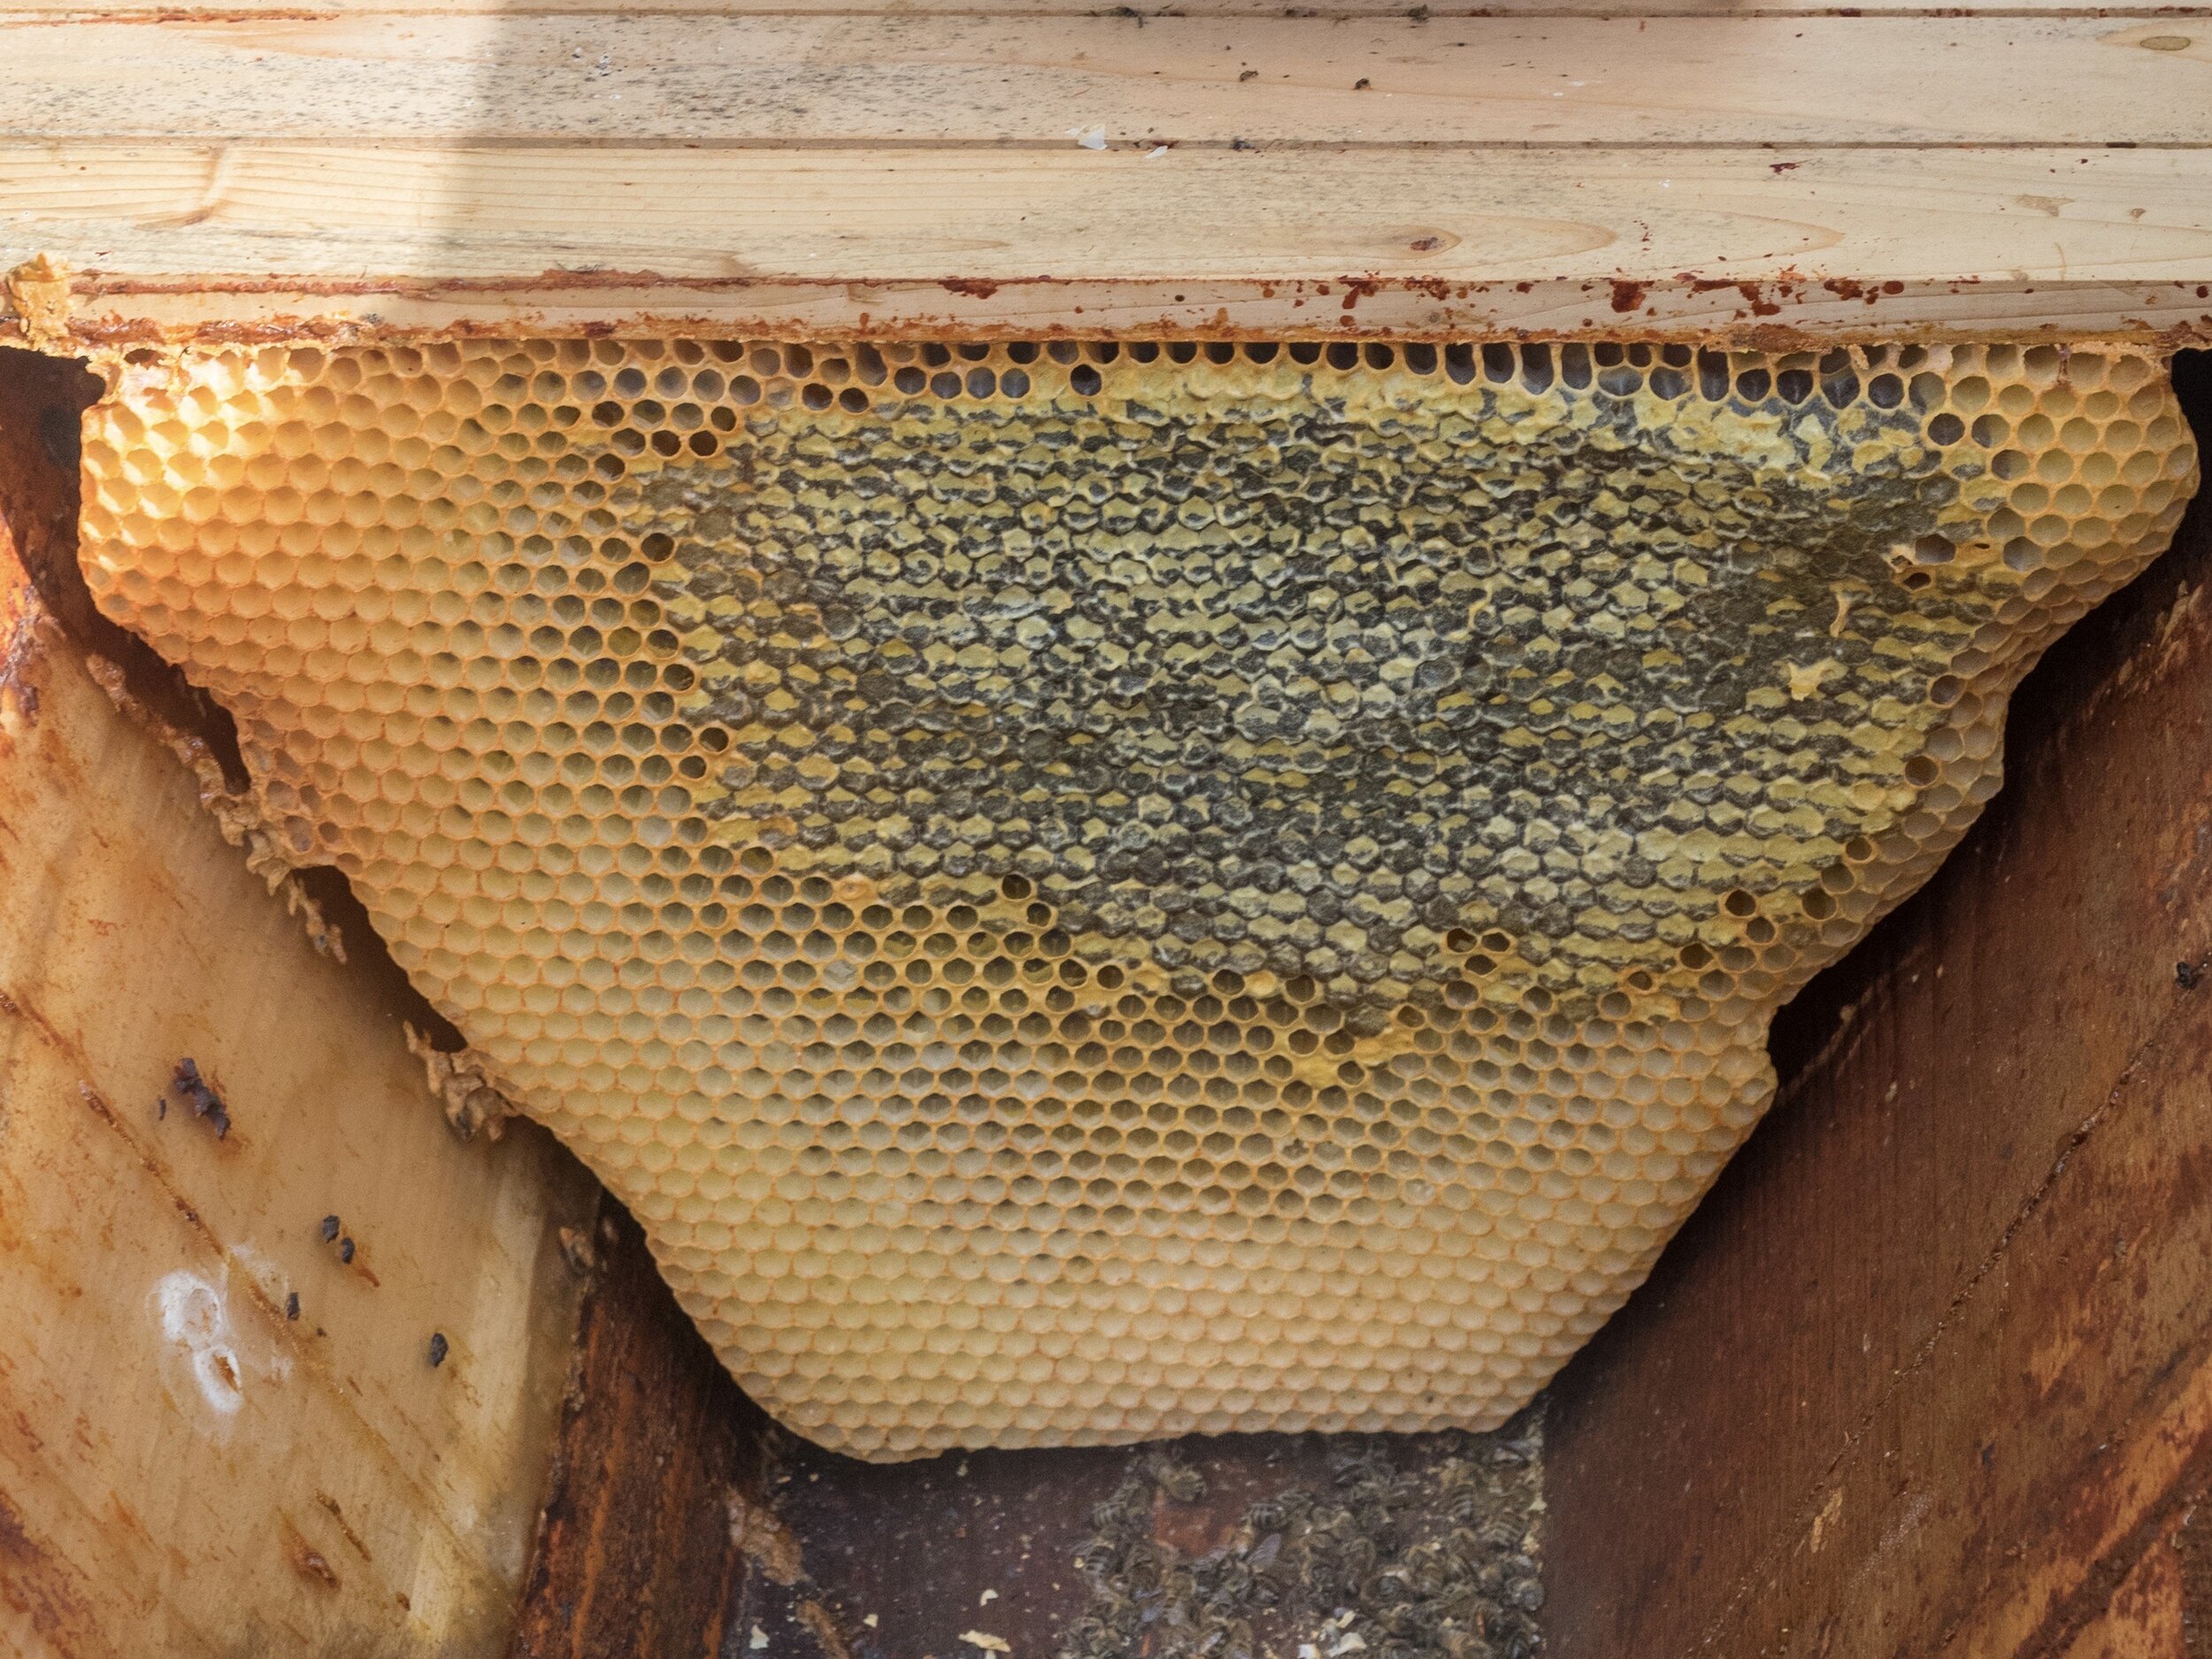
Installation: When installing your new bees, just place the old combs in the hive (like you would empty frames or bars) and they’ll get to work. If you are putting combs with honey left in them, make sure to put those combs at the edges or in a consolidated spot outside of the main brood chamber to keep the queen from becoming “honeybound” and kicking off an early-season swarm.
Beekeeping ain’t easy, guys... but it does get better with experience! It is important to not beat yourself up. View your deadouts as an opportunity to grow and get better in the coming seasons, and you’ll be just fine. As the great Winston Churchill once said, “Success is not final, failure is not fatal: it is the courage to continue that counts.”
