The first couple of weeks after installing your new honey bees are critical for ensuring a successful season for your bees. From installation to the first inspection, we are going to walk you through the process of establishing your brand new colony!
Before Installation
Prior to installing your bees, double check your hive set-up and make sure everything is in its place. Is your hive painted or sealed? Do you have all of your tools and protective gear? Run down your checklist, because you certainly don’t want to remember you’ve forgotten something important on your way home with the bees.
Next, go take a look at your hive. It should be in an out-of-the-way location where it will receive plenty of sunlight. For more on finding the ideal hive location, click here.
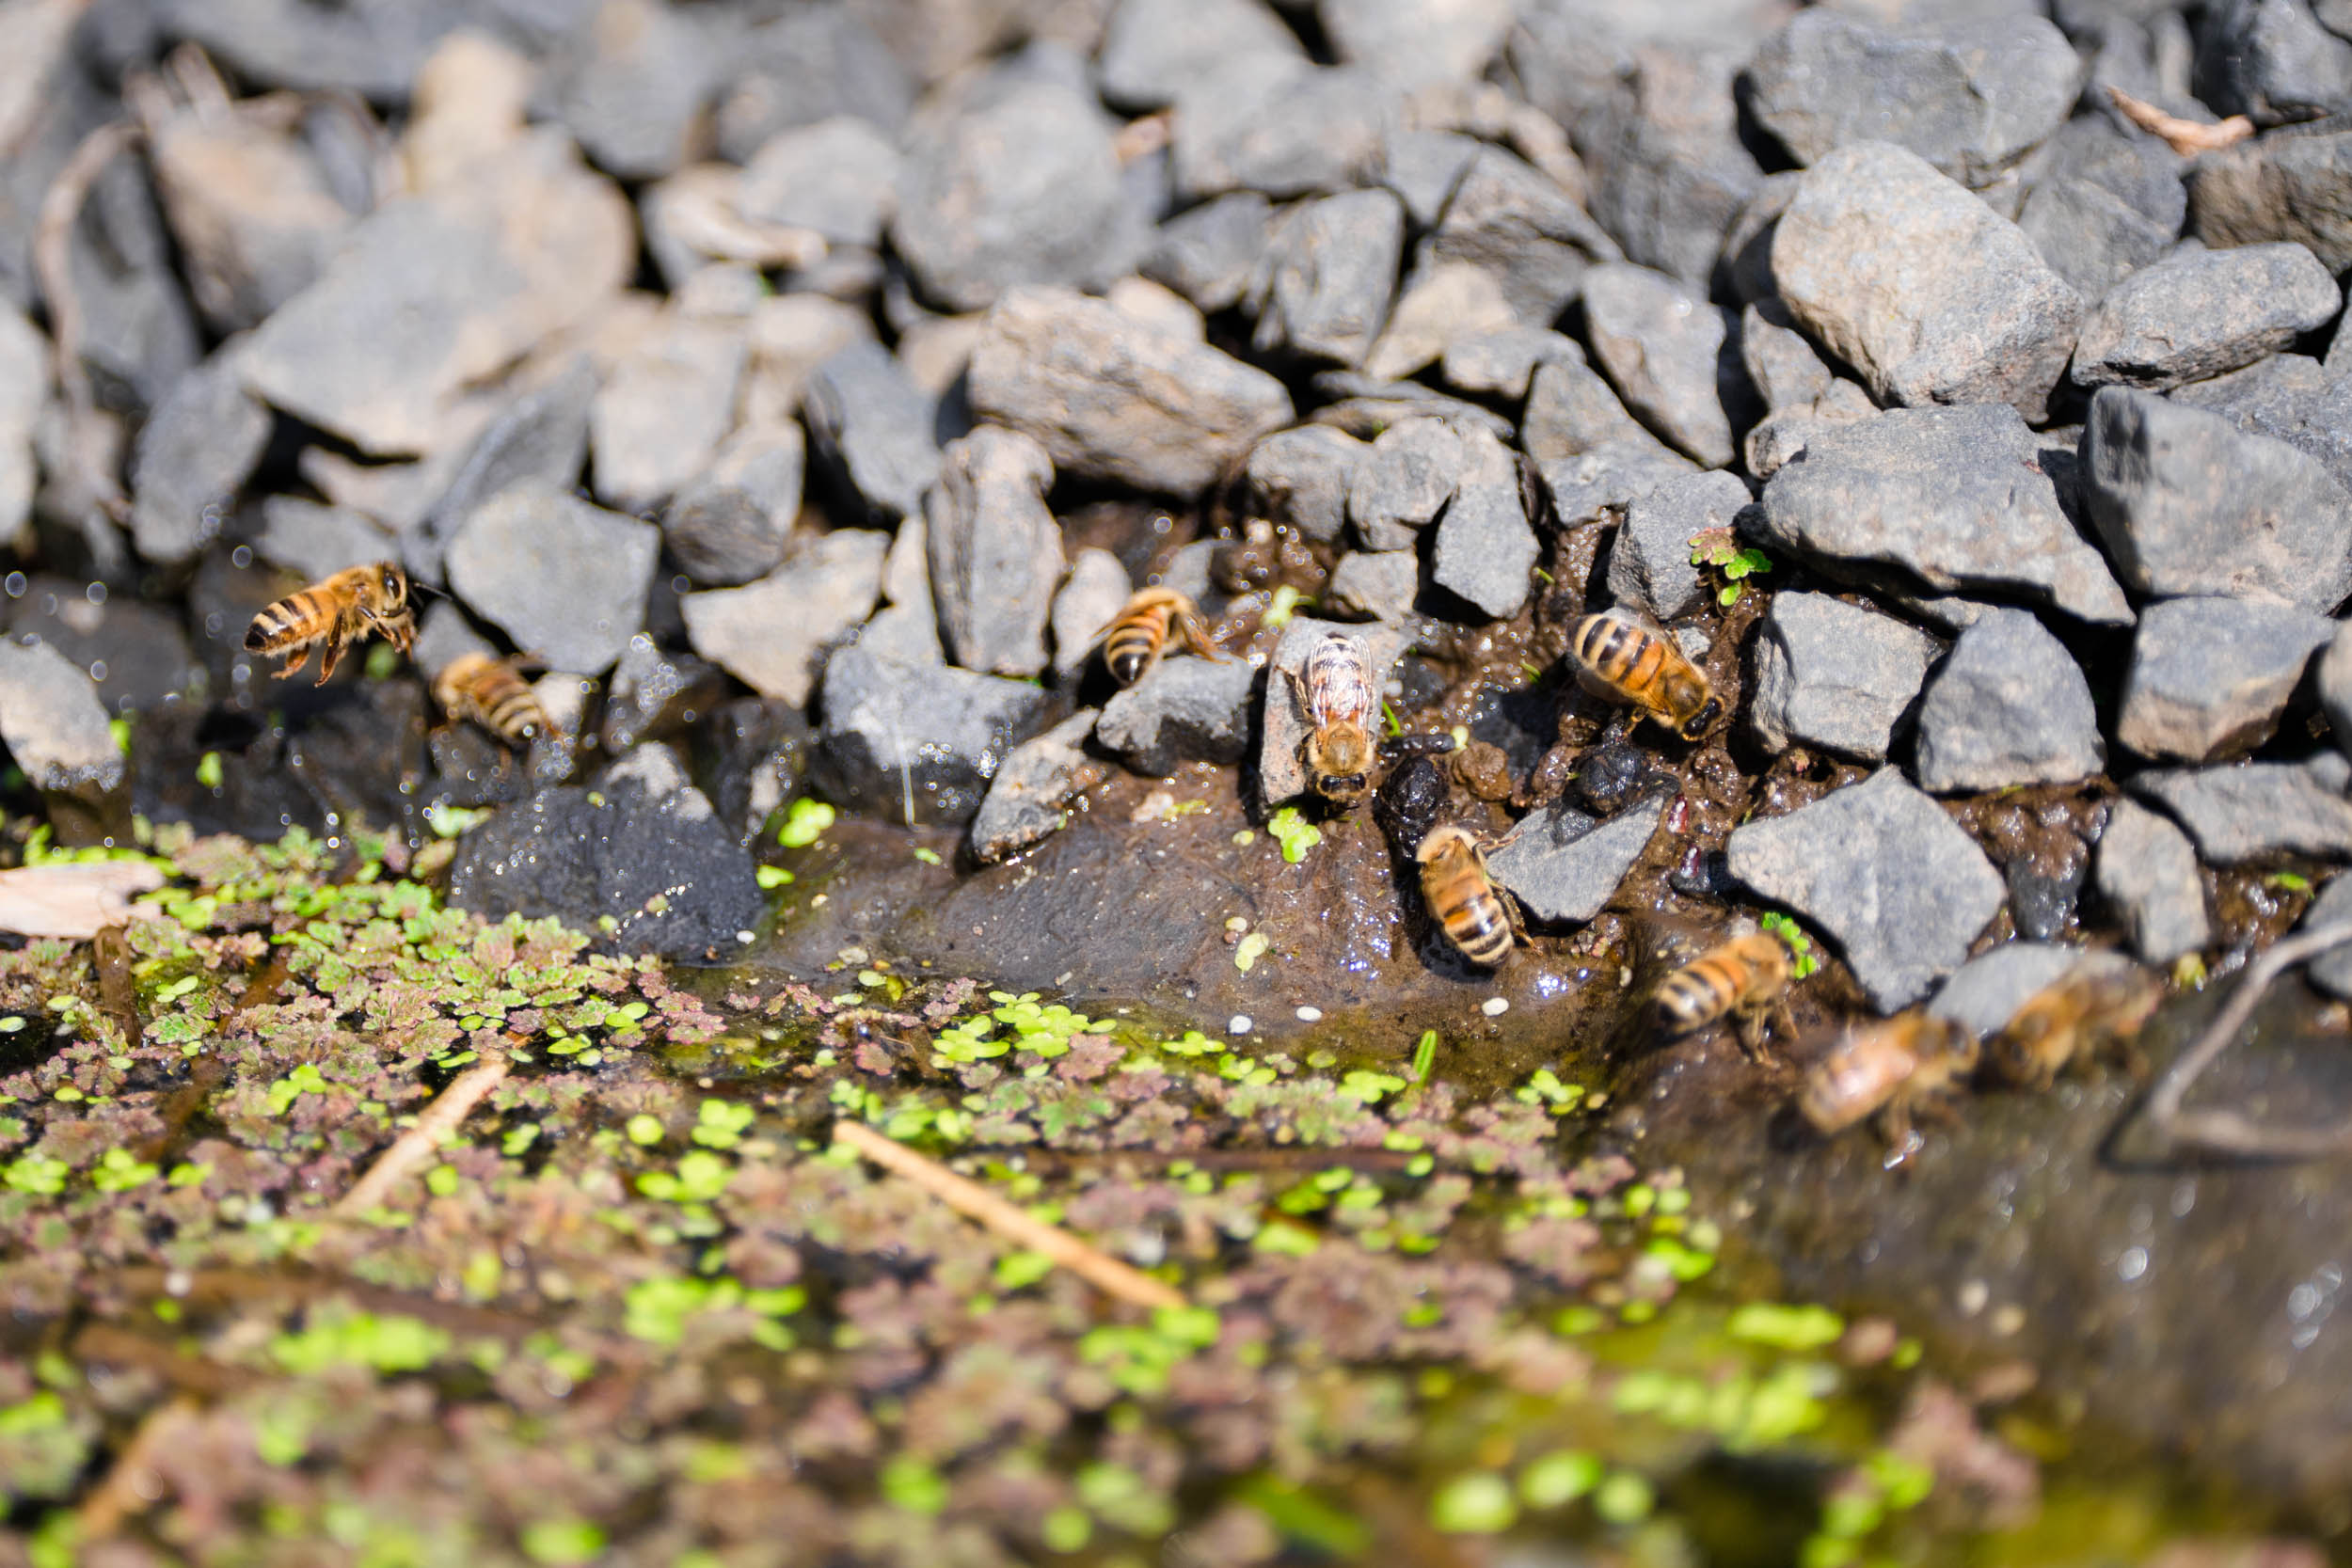
Finally, be sure to have your water source ready, as your bees will need water as soon as they start flying! A neighboring a pond or a birdbath across the yard would suffice, and having a water source readily available will help keep the bees from using your neighbor’s pool as their primary water source.
Installing Your Bees
Your bees will arrive in either a package or a nuc, and they will be installed and cared for differently. Check out this post for a detailed comparison of nucs and packages.
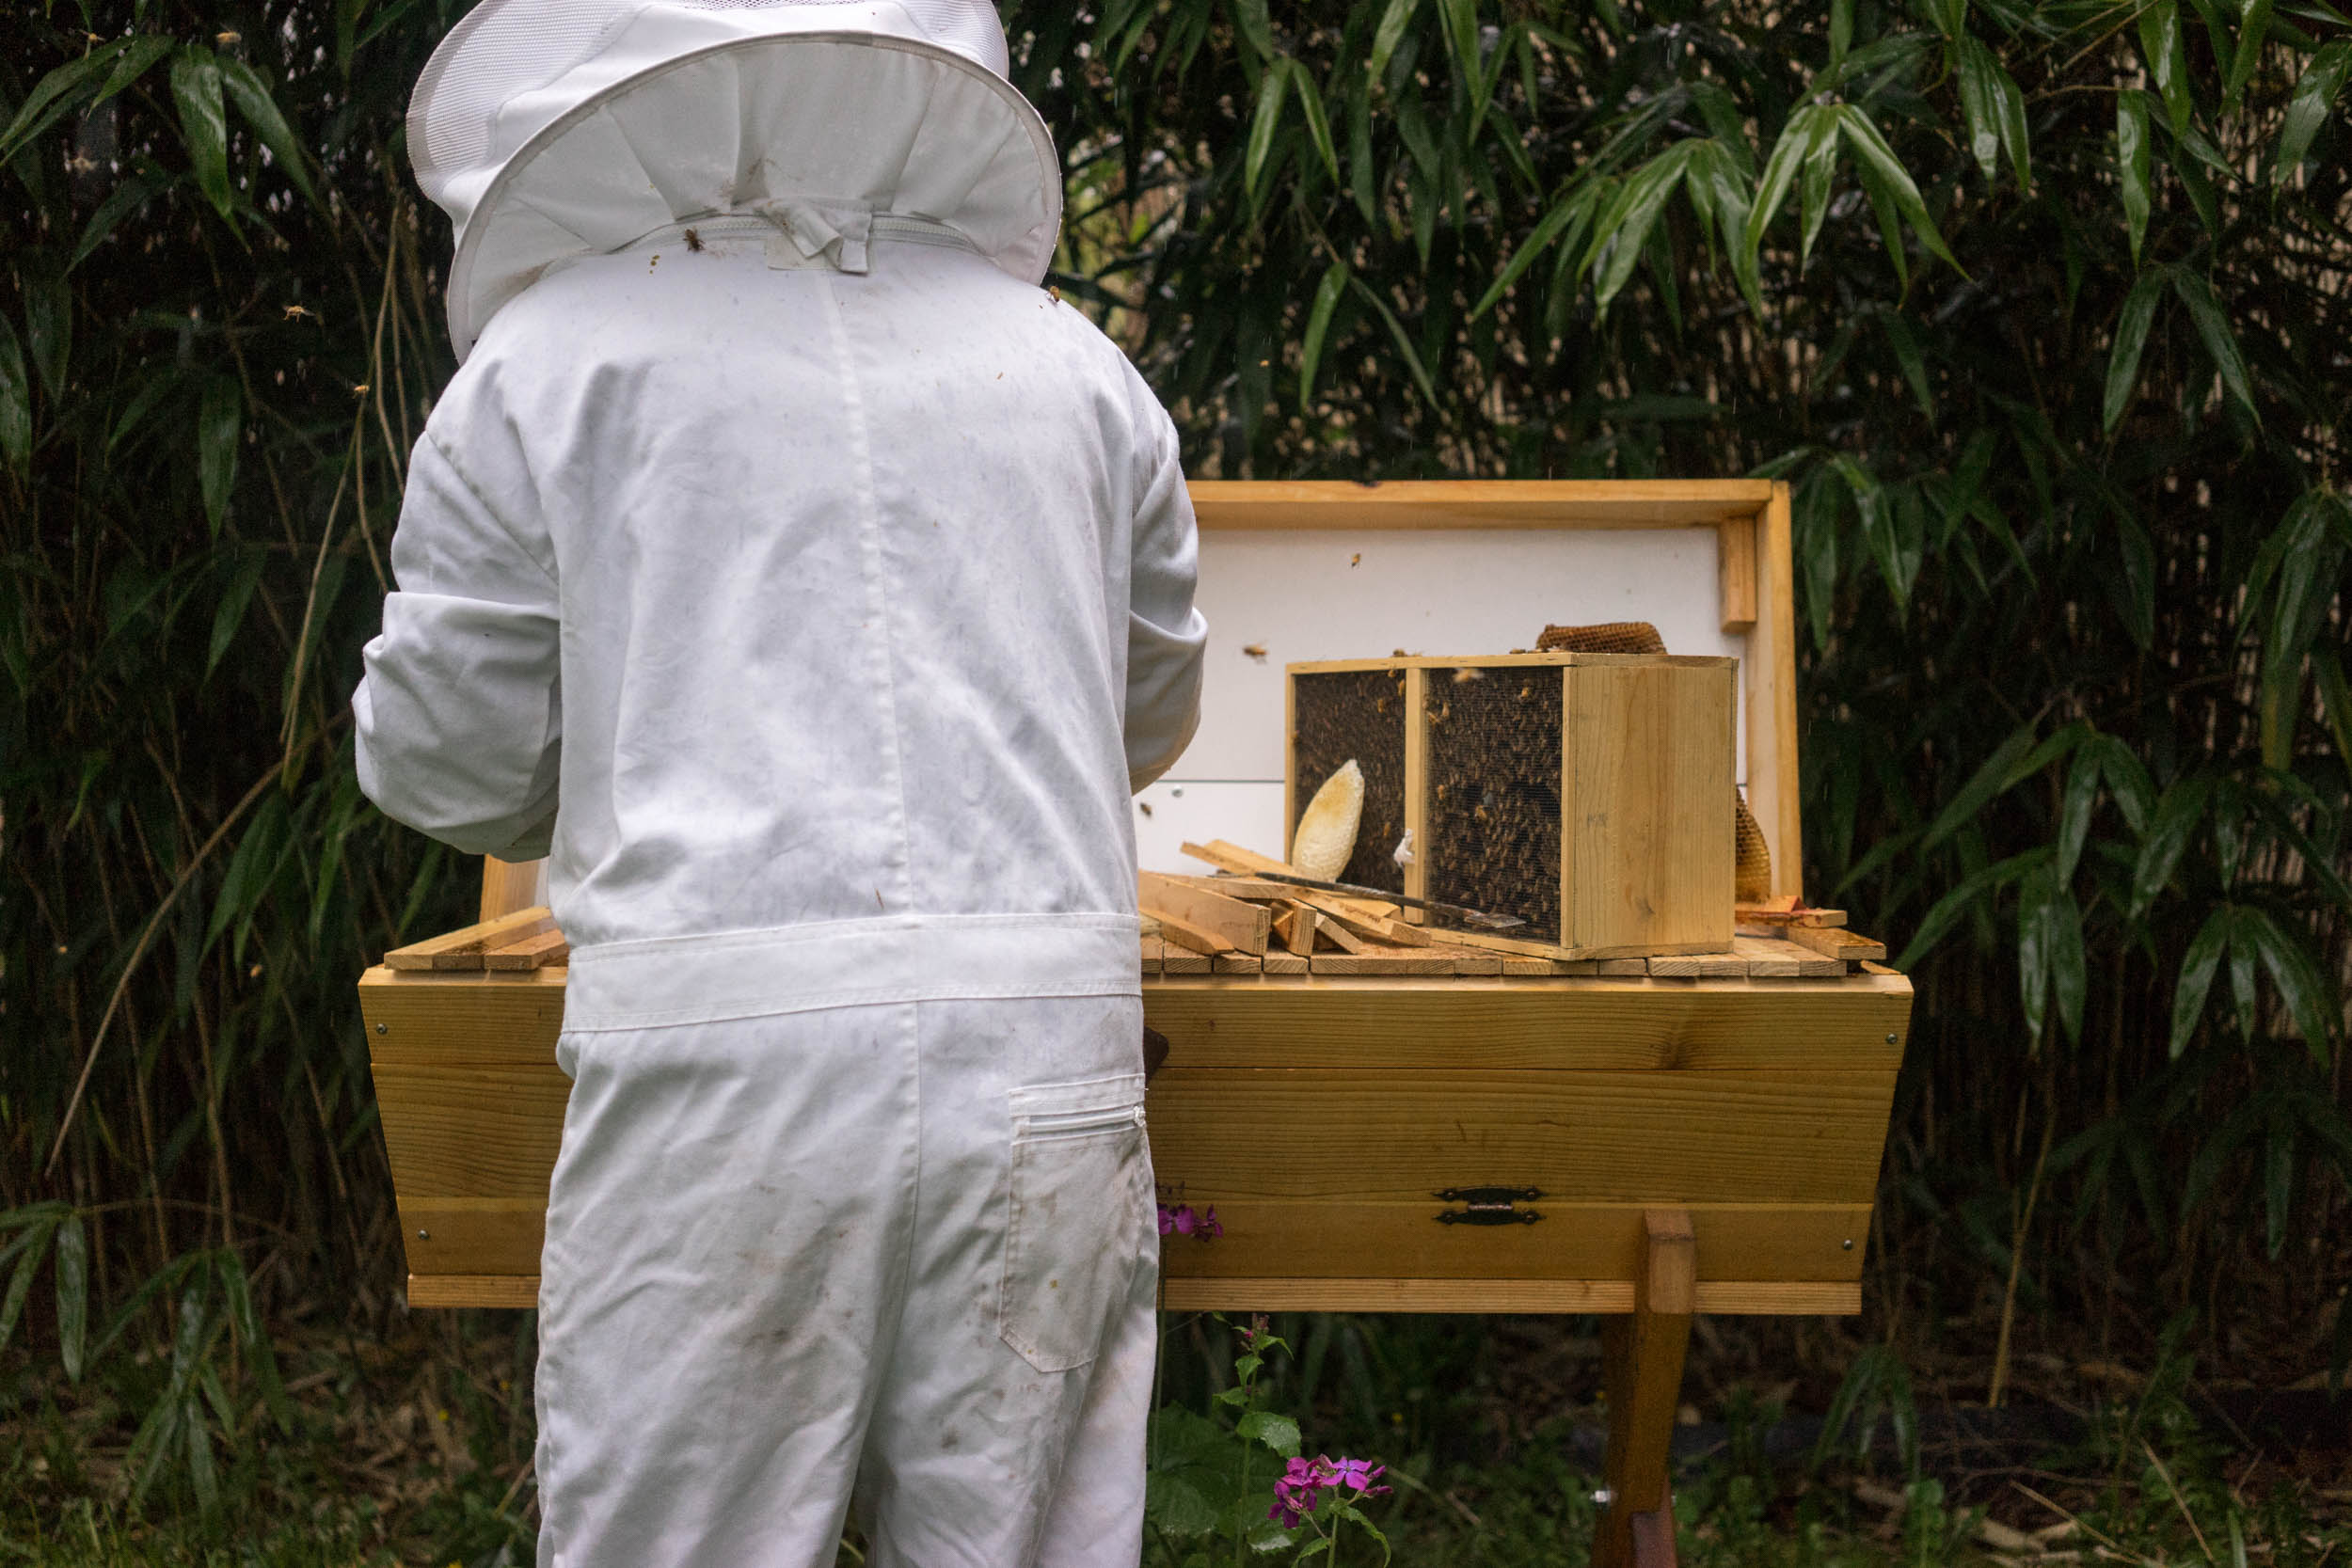
- A package is a wooden crate filled with 3 lbs of honey bees and a mated queen in a cage. Here is a guide to installing packages.
- A nuc is a mini Langstroth hive box (usually comprised of 5 deep frames) with bees and a loose mated queen. To install a nuc, you just transfer the frames in the same order and orientation from the nuc to your hive! Super simple.
A Note on Rainy Weather Installation
Here in the PNW, there’s always a chance that your bees will arrive on a day with crappy weather. This is okay! If you are installing a package, it is generally better to get your bees out of the package and into the hive as soon as possible - rain or shine. Use your judgment here, though! Don’t install bees in a torrential downpour, but light rain is fine. As long as you have everything ready to go, the install should move quickly and your bees will dry off and get settled in short order.
You will need to have a plan for stragglers left in the package. We usually set the package near the entrance to allow the stragglers to find their way into the colony, but on a rainy day, they may not make it. In a Langstroth hive, you can set an empty box on top of your inner cover and then set the package inside the box and place the lid on top. This will keep them dry and allow them to find their way into the main hive cavity through the inner cover. In a Top Bar hive, you can set the almost empty package on the other side of the divider board, and place some small sticks under the divider board to raise it up about 3/8”. The bees will be able to crawl under the divider board into the main cavity.
If you’re installing a nuc, they can stay safe and happy in there for quite a while, so you have the option to wait until better weather hits. The main concern with installing a nuc in bad weather is chilling the brood, but if the weather is close to 50 degrees and you move quickly, they should be fine.
Feeding
Packages should always be fed upon installation. Bees require a lot of fuel to build comb and get things rolling. Packaged bees are starting from scratch, and feeding will give them a much-needed wing up on the season. They should be fed a 1:1 sugar syrup after installation, but once they have ample comb constructed and are foraging consistently, you can stop feeding.
Nucs may or may not need to be fed, depending on the weather and their access to forage. Since they arrive with comb and existing food stores, their situation is not as dire.
For more information on spring feeding, check out this post.
After Installation
Once your bees are in the hive, leave them be! Too much disturbance may cause them to abscond. There are three reasons you should open your hive in the week following installation:
- Queen check. If you installed a package, you will need to ensure your queen has been released from her cage ~3 days after installation. If they’ve set her loose, remove the cage and close the hive back up. If they haven't, you’ll need to manually release her.
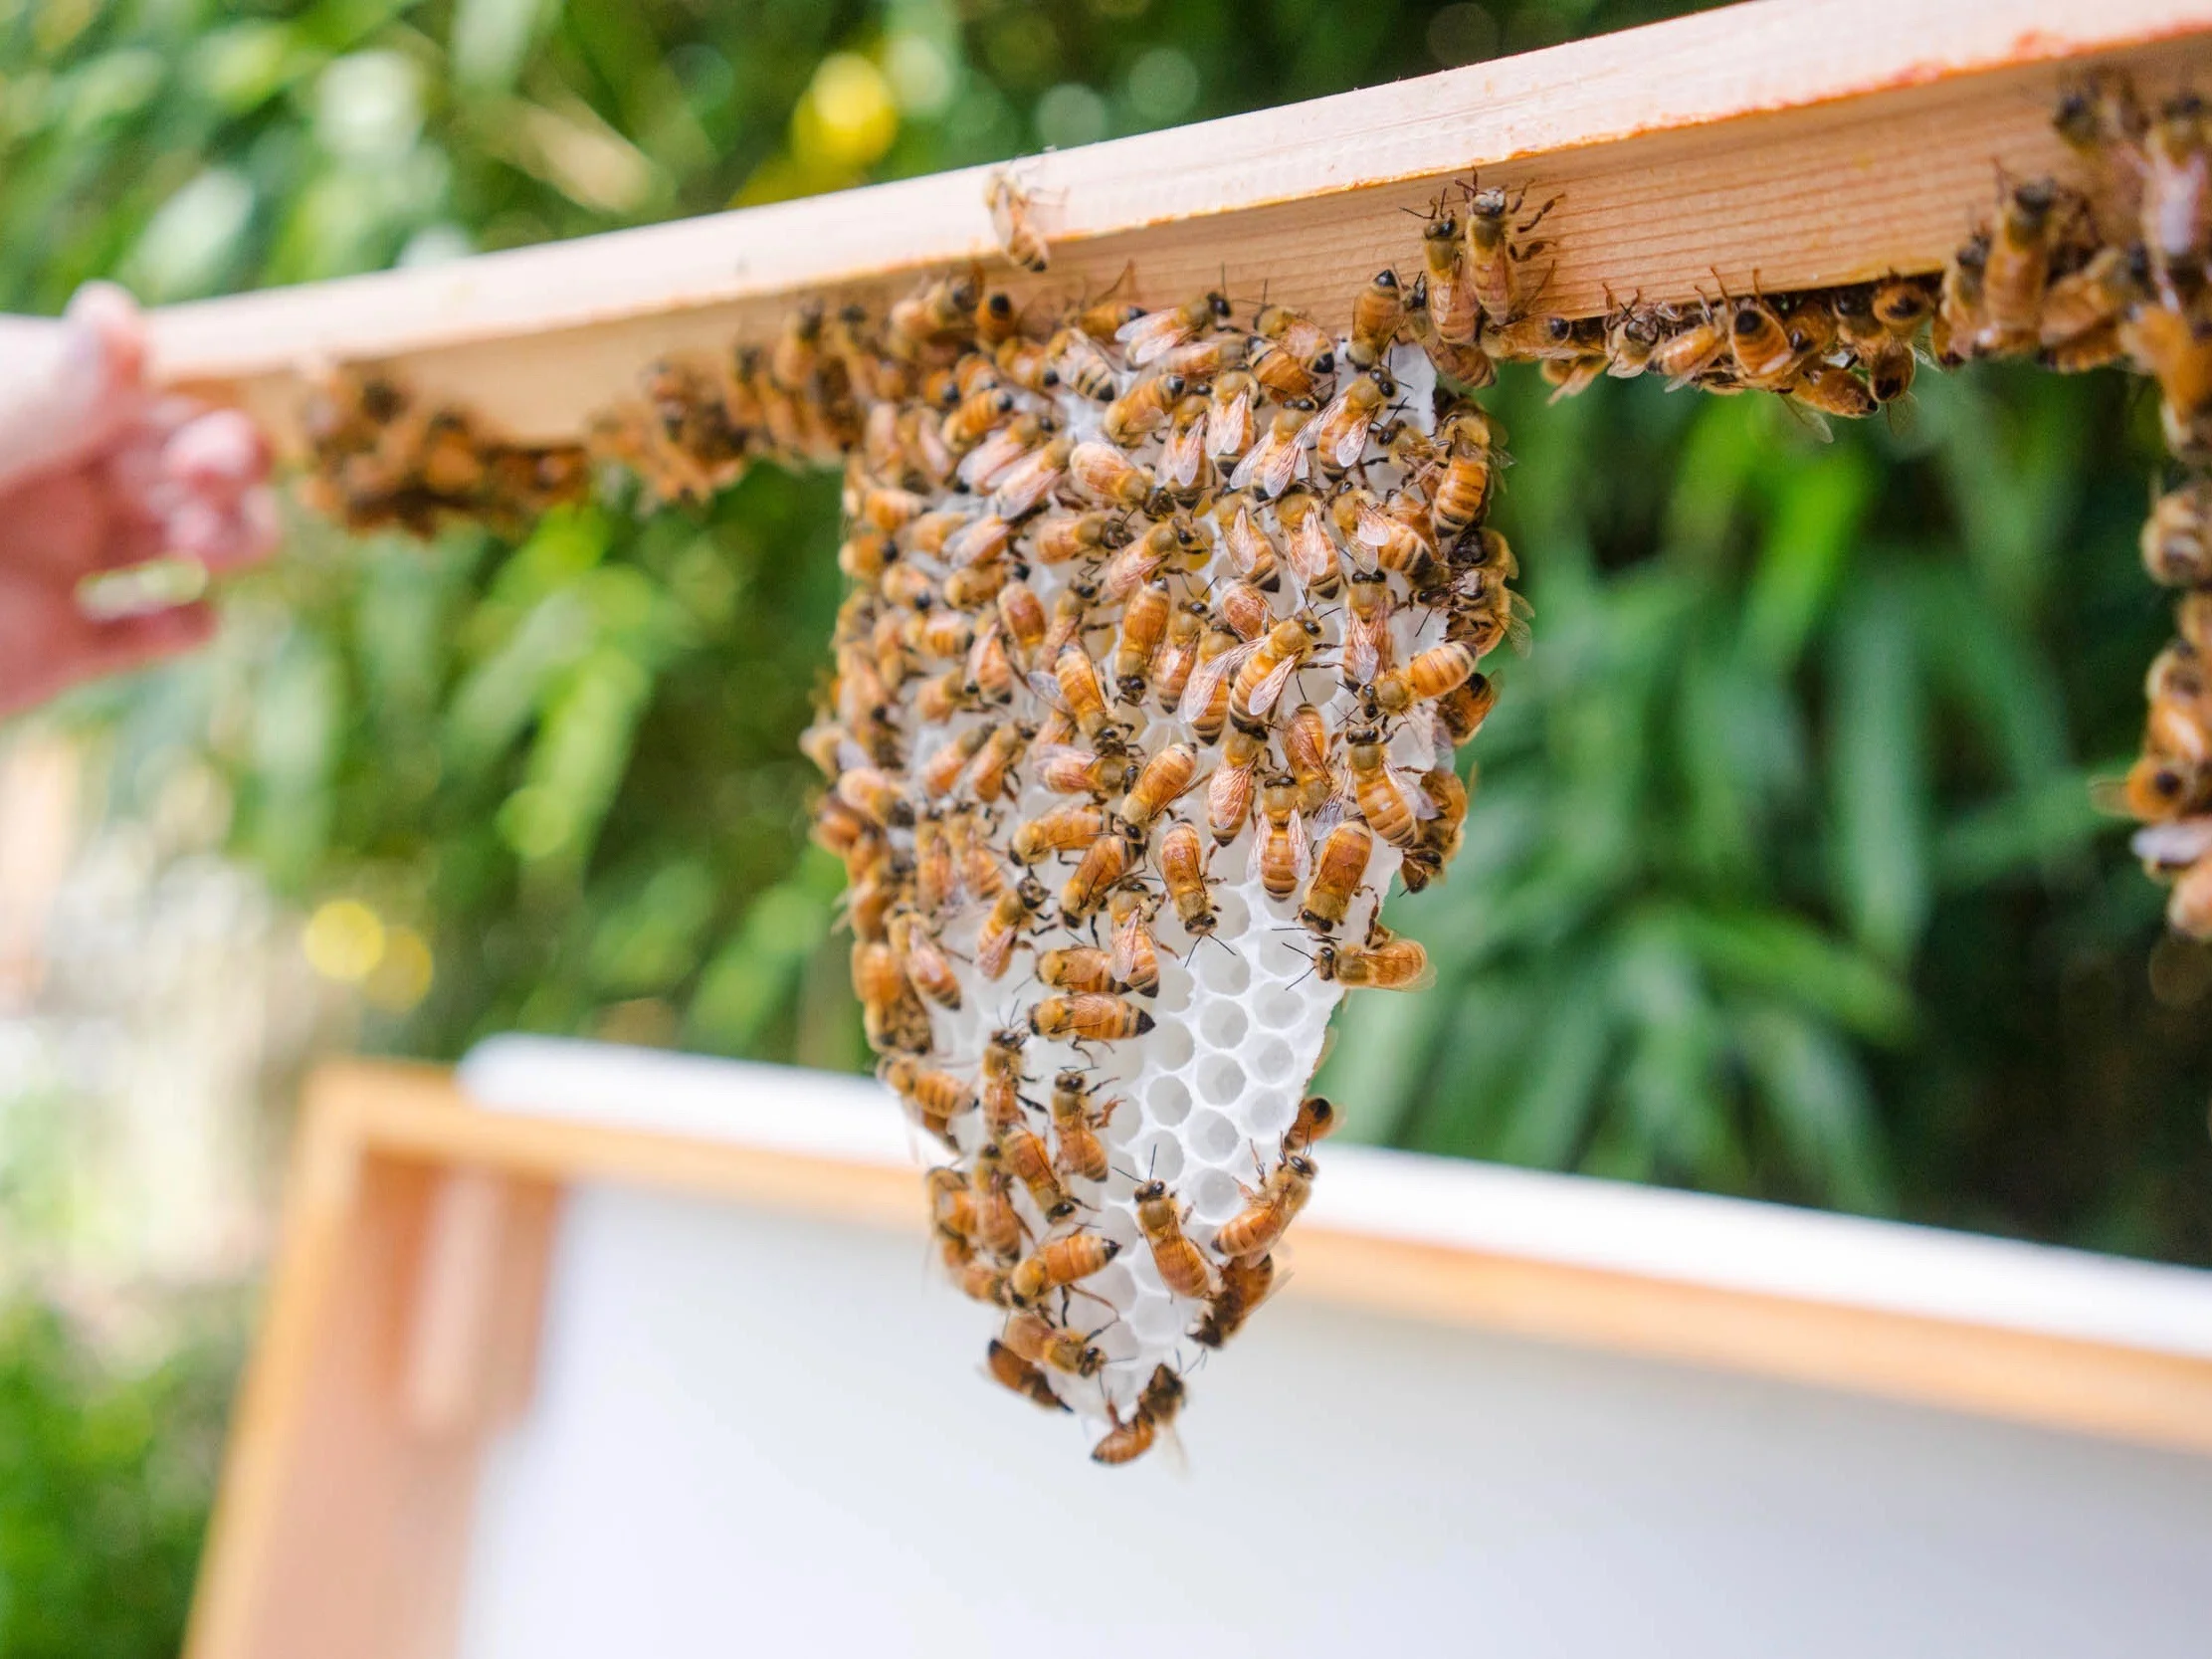
- Monitor comb construction. Foundationless hives should be closely monitored in the beginning stages of comb construction. Natural comb is wonderful for so many reasons, but the train can derail very quickly if the bees are left to their own devices! We recommend popping the lid (or window if you have it) every other day for the first week to make sure they are building straight and in line with the bars or frames. This is not the time for full inspections - resist the urge to bug them too much. If you see a comb going off the rails, use your fingers to gently mold it into place.
- First inspection! This should happen around 7 - 10 days after installation. Your bees should be settled, constructing lots of new comb and bringing in an abundance of nectar and pollen. The main thing you should look for are signs that the queen is laying. Take careful notes of what your bees are up to, then close the hive up and give it another week.
Remember to go slow, write down observations and not worry too much. Your bees have it under control - we just need to provide them with an environment they can thrive in. Best of luck out there, new beeks!